Couple of months ago I bought the Apple Extended Keyboard from EBay. I fell in-love with it immediately, and enjoyed typing in it more than I do with my WASD Code1.
To my disappointment, though, few days after I got it, several keys started to show signs of weakness. The '8' key spouted multiple letters in every stroke. The 't' worked sporadically, and the '.' stopped responding altogether.
First Aid
I looked up how to fix an AEK. Most of the articles I found helped me with dissembling the case and the board, pulling out key-caps and crack opening the alps switches. I learned to clean, scratch oxide and lubricate the switch internals to improve conductivity.
These measures didn't work. I thought about buying a new AEK, but figured it will make no sense. It's a 30 years old model, and chances are each keyboard I'll buy will have similar chances of having broken keys. Yet, this is too good of a keyboard to abandon.
Intensive Care
And so, I got myself deeper into the world of mechanical keyboards. I learned that I can desolder switches from the board and replace them with new ones, but I didn't find alps switches to buy. What I did find were Matias switches, which claim to be identical to the classic white Alps switches.
I found a sample pack of Matias switches at mechanicalkeyboards.com. It includes 5 switches, and costs 5.99\$. I then ordered a soldering kit from Amazon2. My plan was to replace the malfunctioned keys. But when I got the Matias switches, I noticed that they are much clickier than the AEK's alps. I didn't want to have different typing experience, so I decided to replace the broken switches with functioning ones from keys I never use. I will then install the Matias switches for those rarely used keys.
Now that I had a plan, I went on to learn about soldering. I found through the /r/MechanicalKeyboards subreddit a series of YouTube videos about soldering3. I think those videos were made around the time my AEK was manufactured, but they are as timeless as this keyboard. If you're into it, then take a look also at that video. I found it very helpful in figuring out how to melt the soldering in order to take off existing switches, and how to use the soldering pump for sucking away the solder from the circuit board.
Armed with the acquired knowledge, the whole process turned out to be easy, quick and actually, quit fun. In less than 10 minutes I had a renovated keyboard. And now, not only that I have the rolls-royce of keyboards back in shape, I also know how to take care of it the next time one of its parts shows signs of fatigue.
The Gallery
Here are some pictures that illustrate the process (I also included at the bottom of the article helpful links for further support):
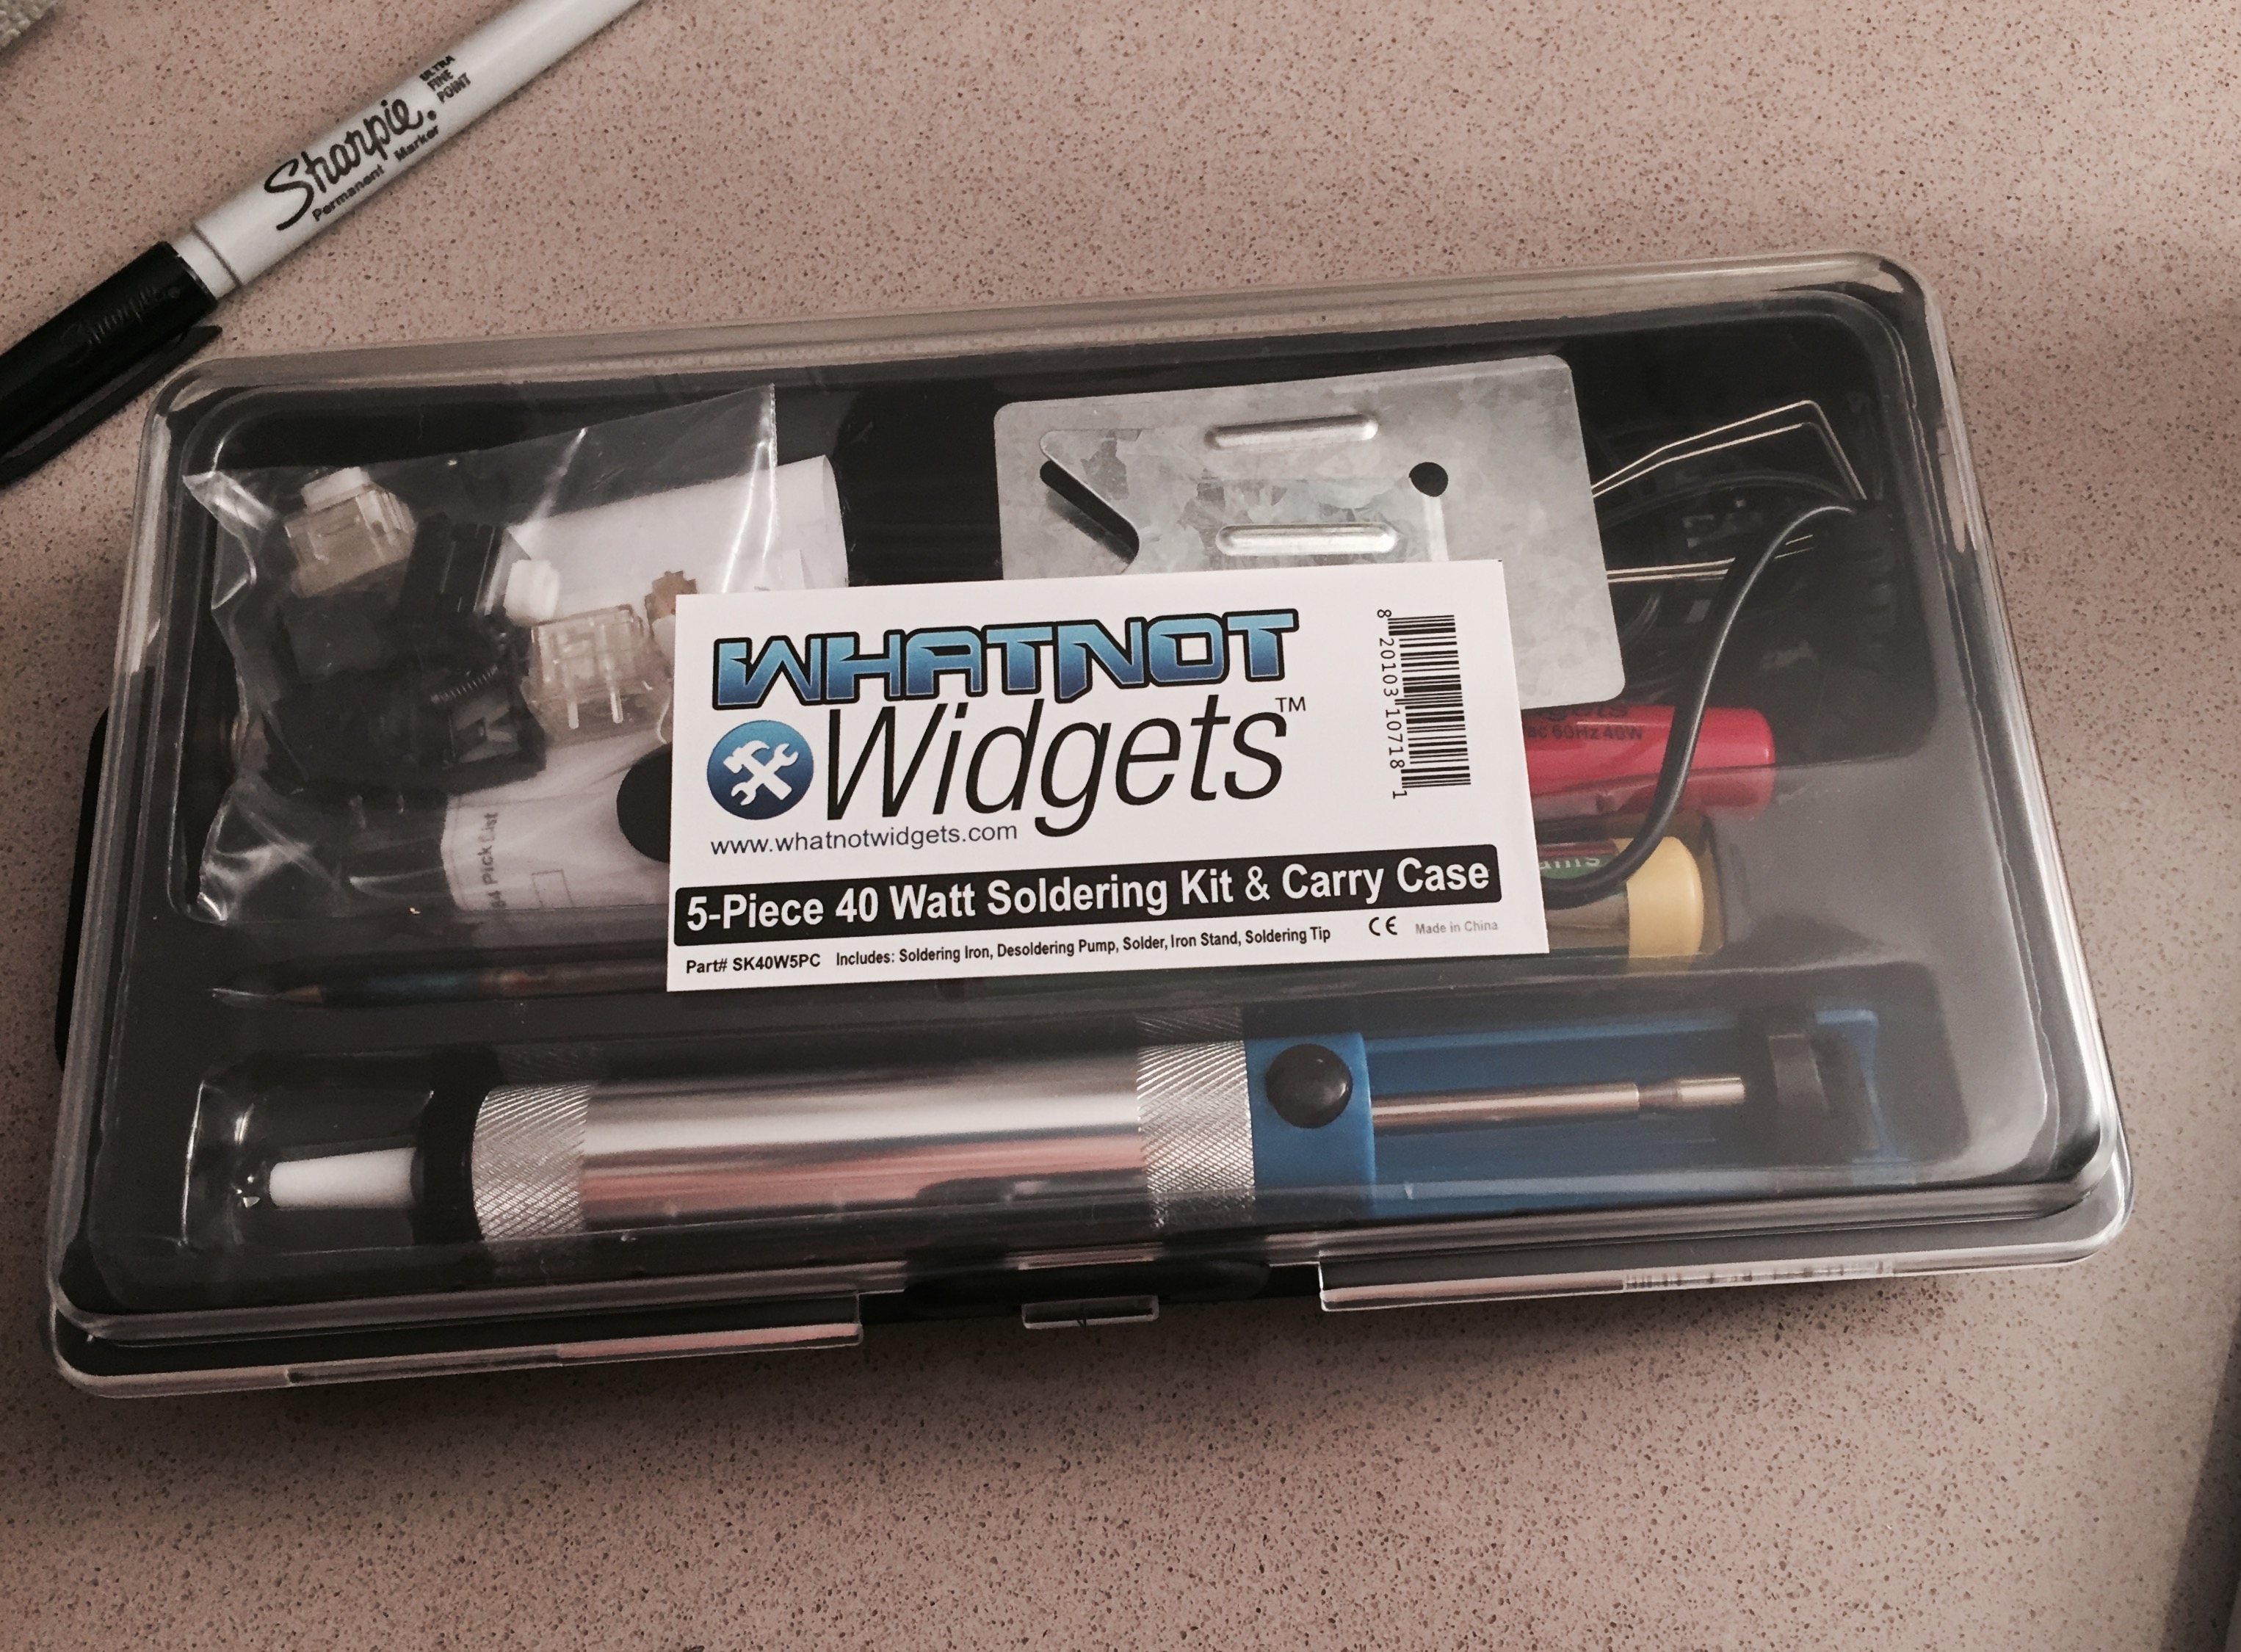
Figure 1: The ingredients - the soldering kit
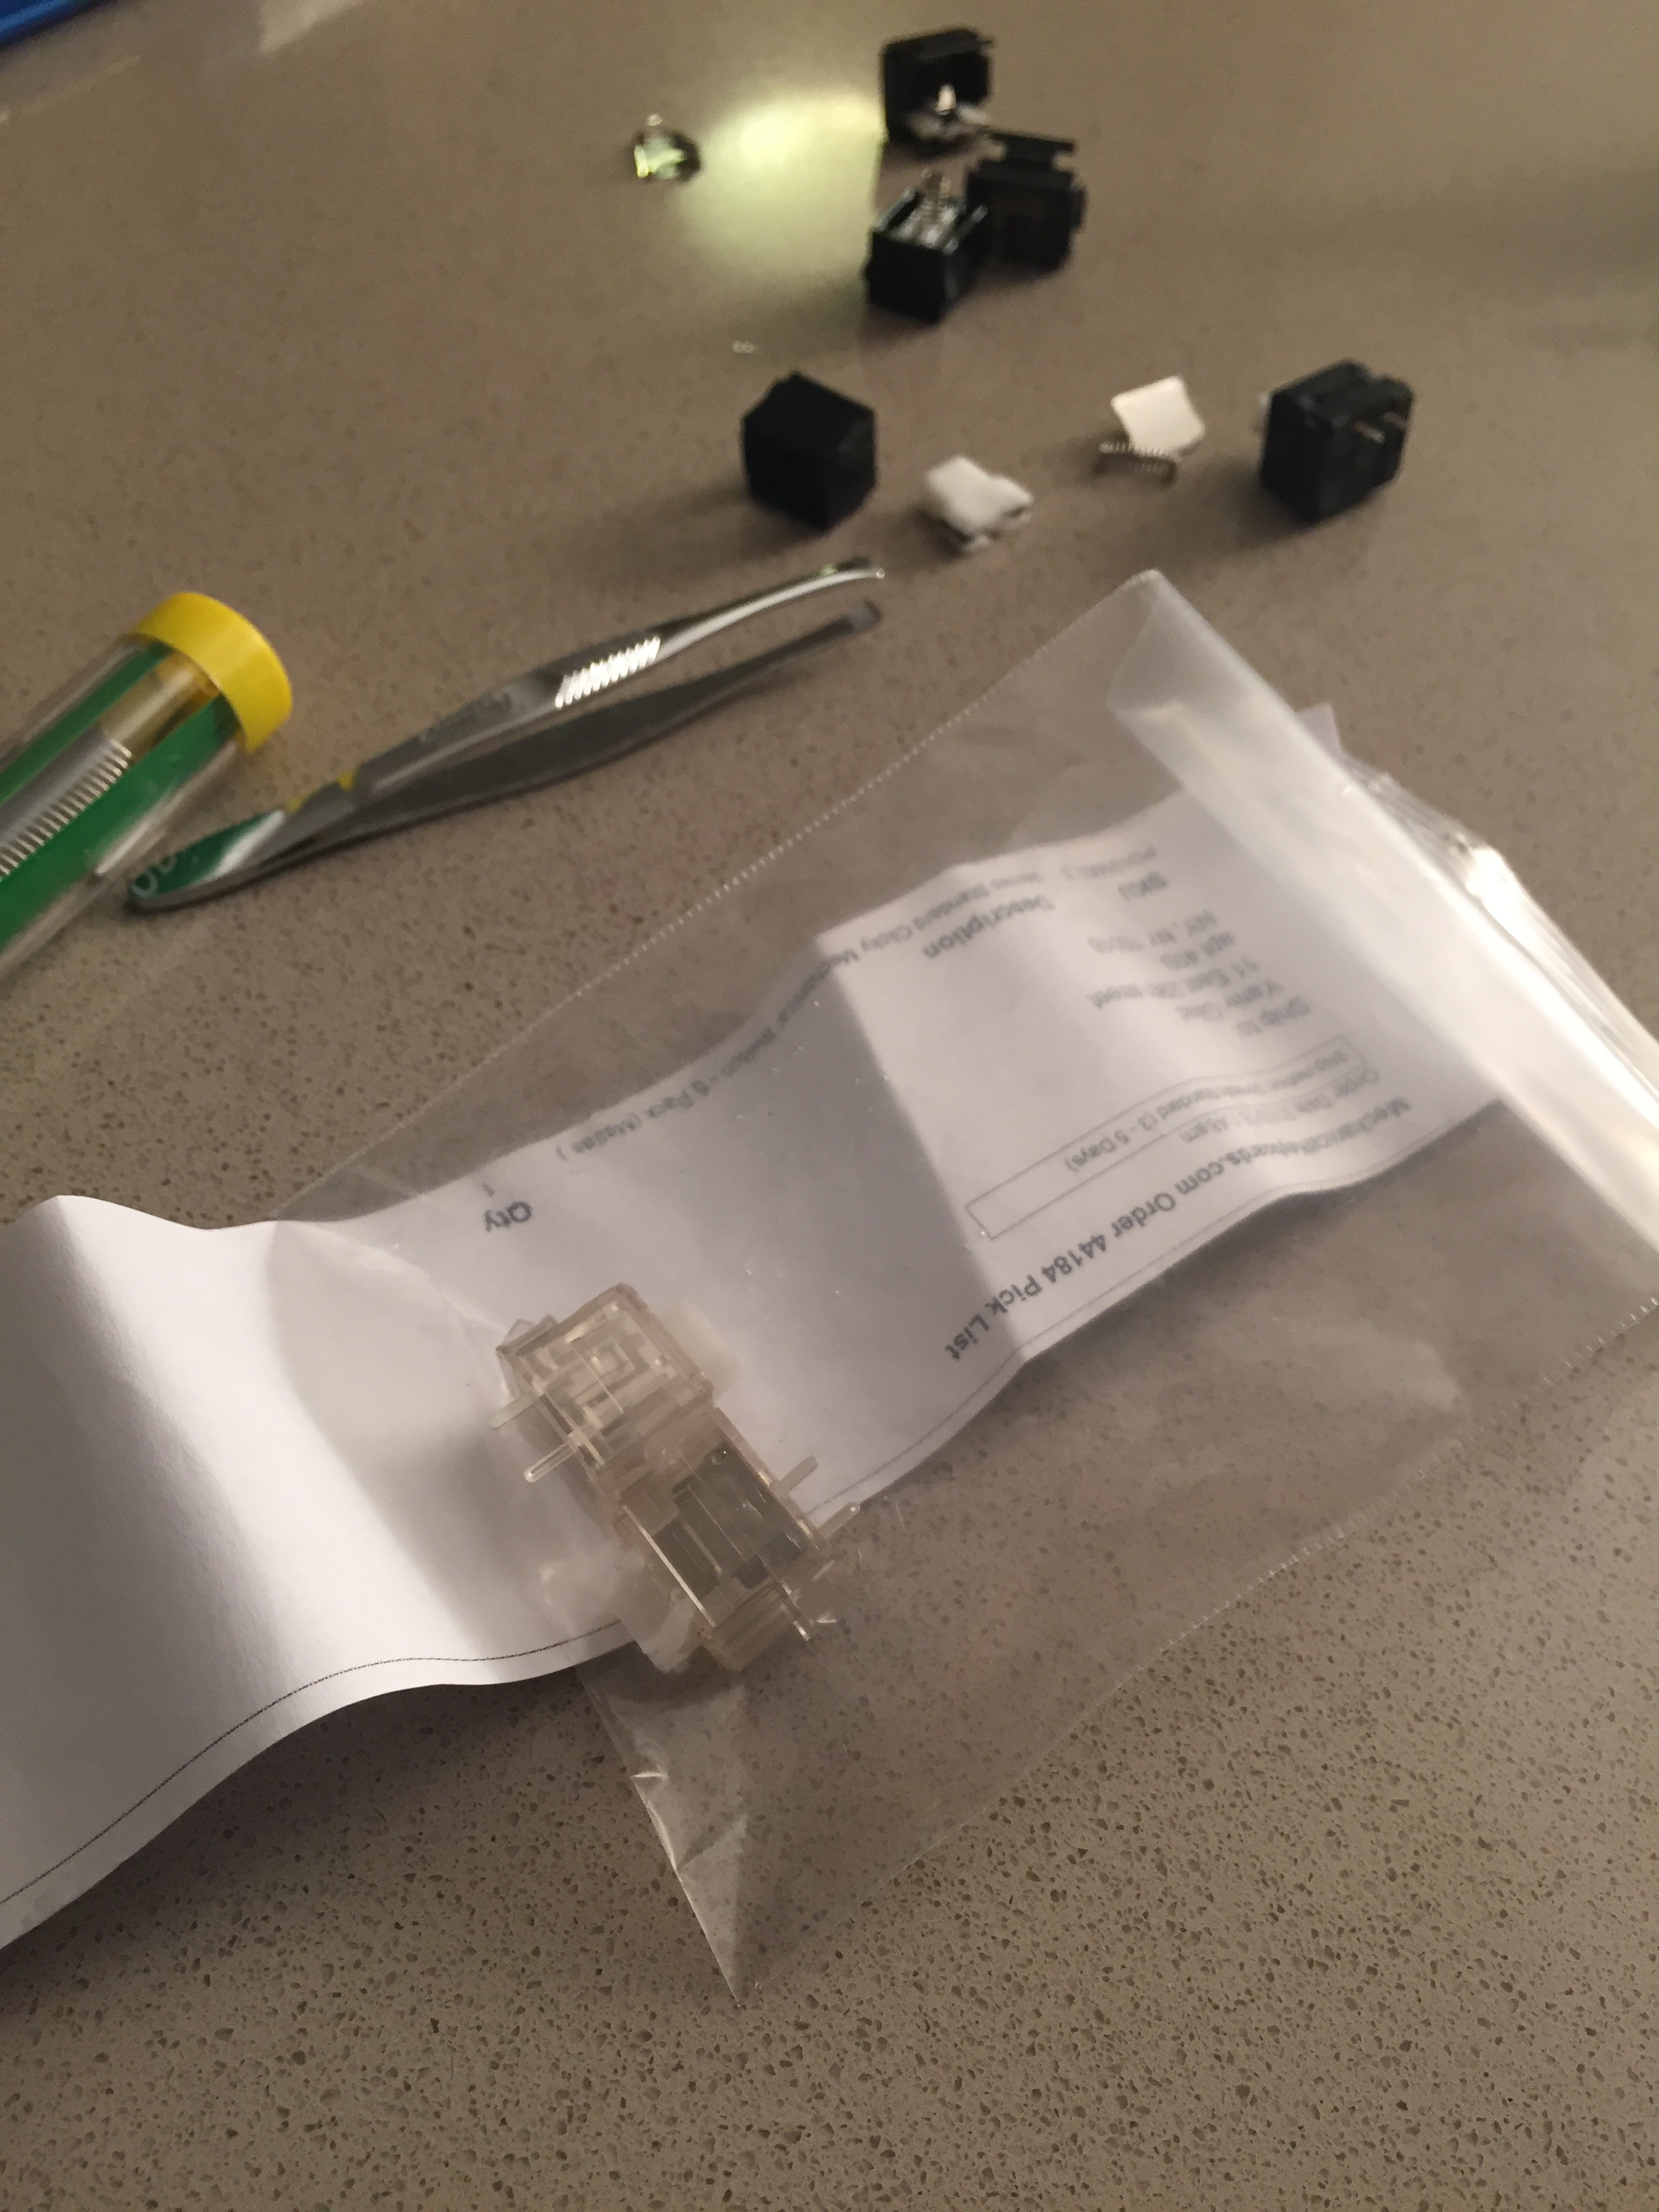
Figure 2: The ingredients - the Matias clicky switches pack (2 out of the 5 that arrived in the pack)
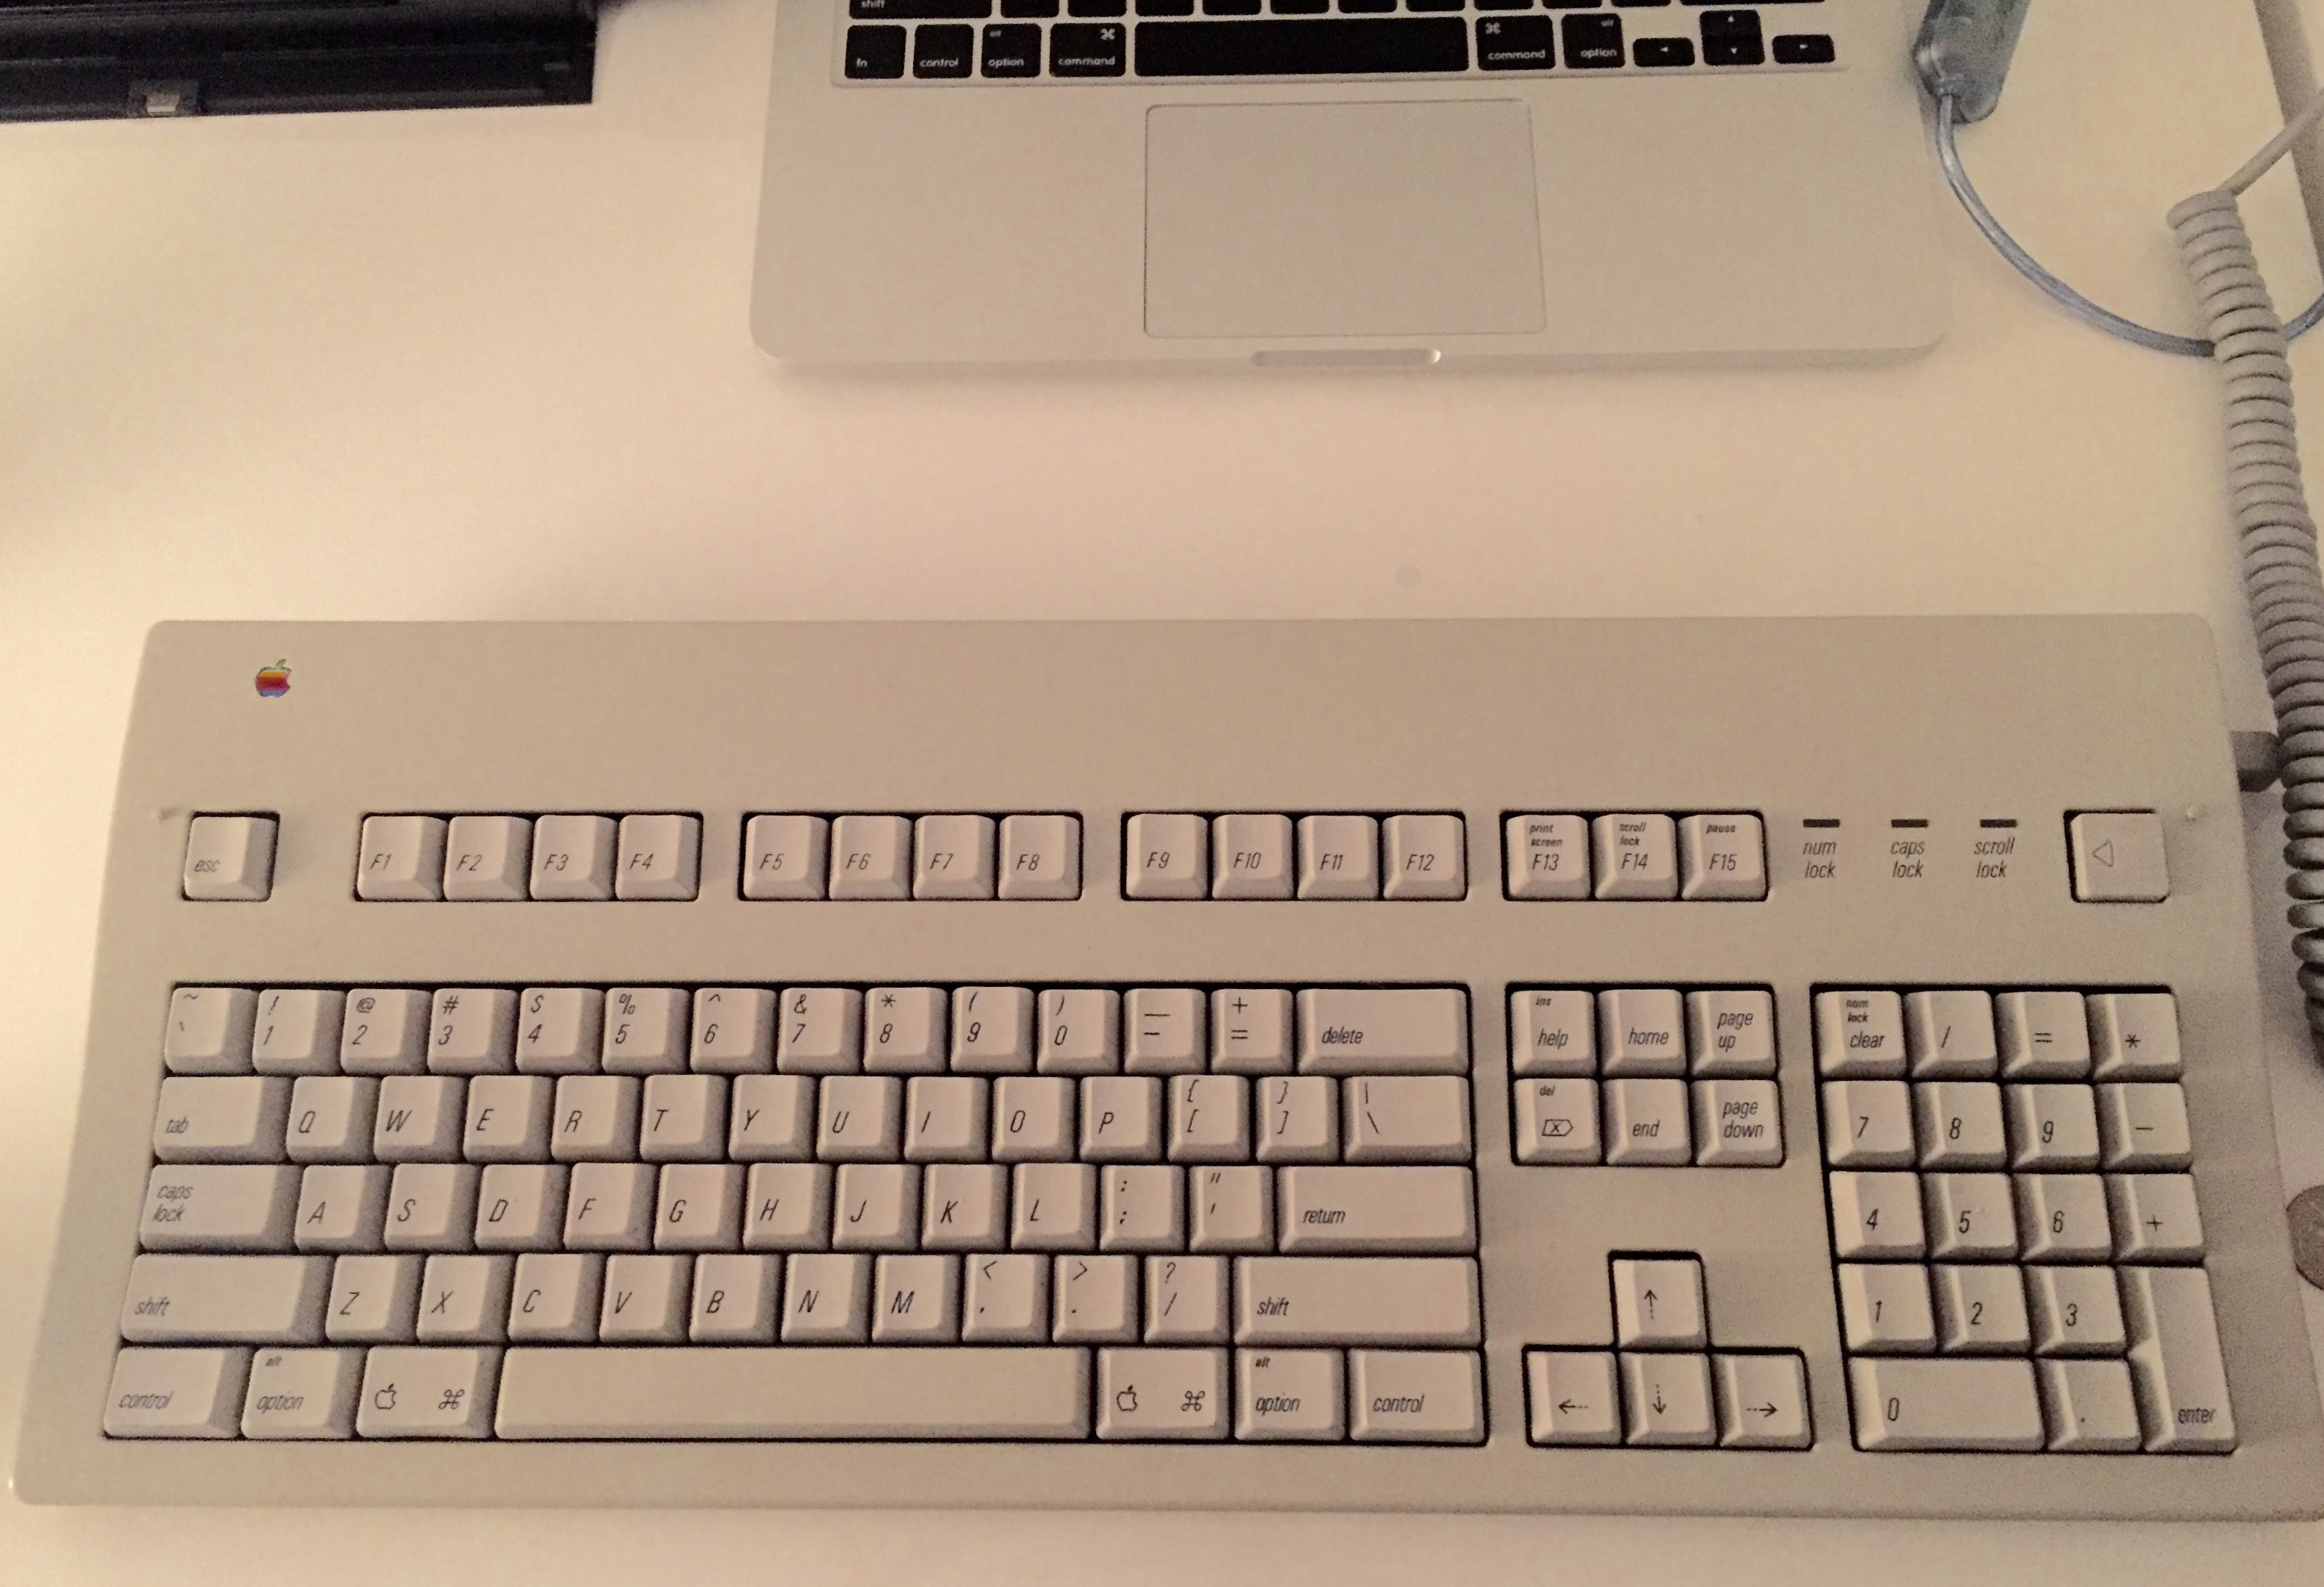

Figure 4: After opening the case
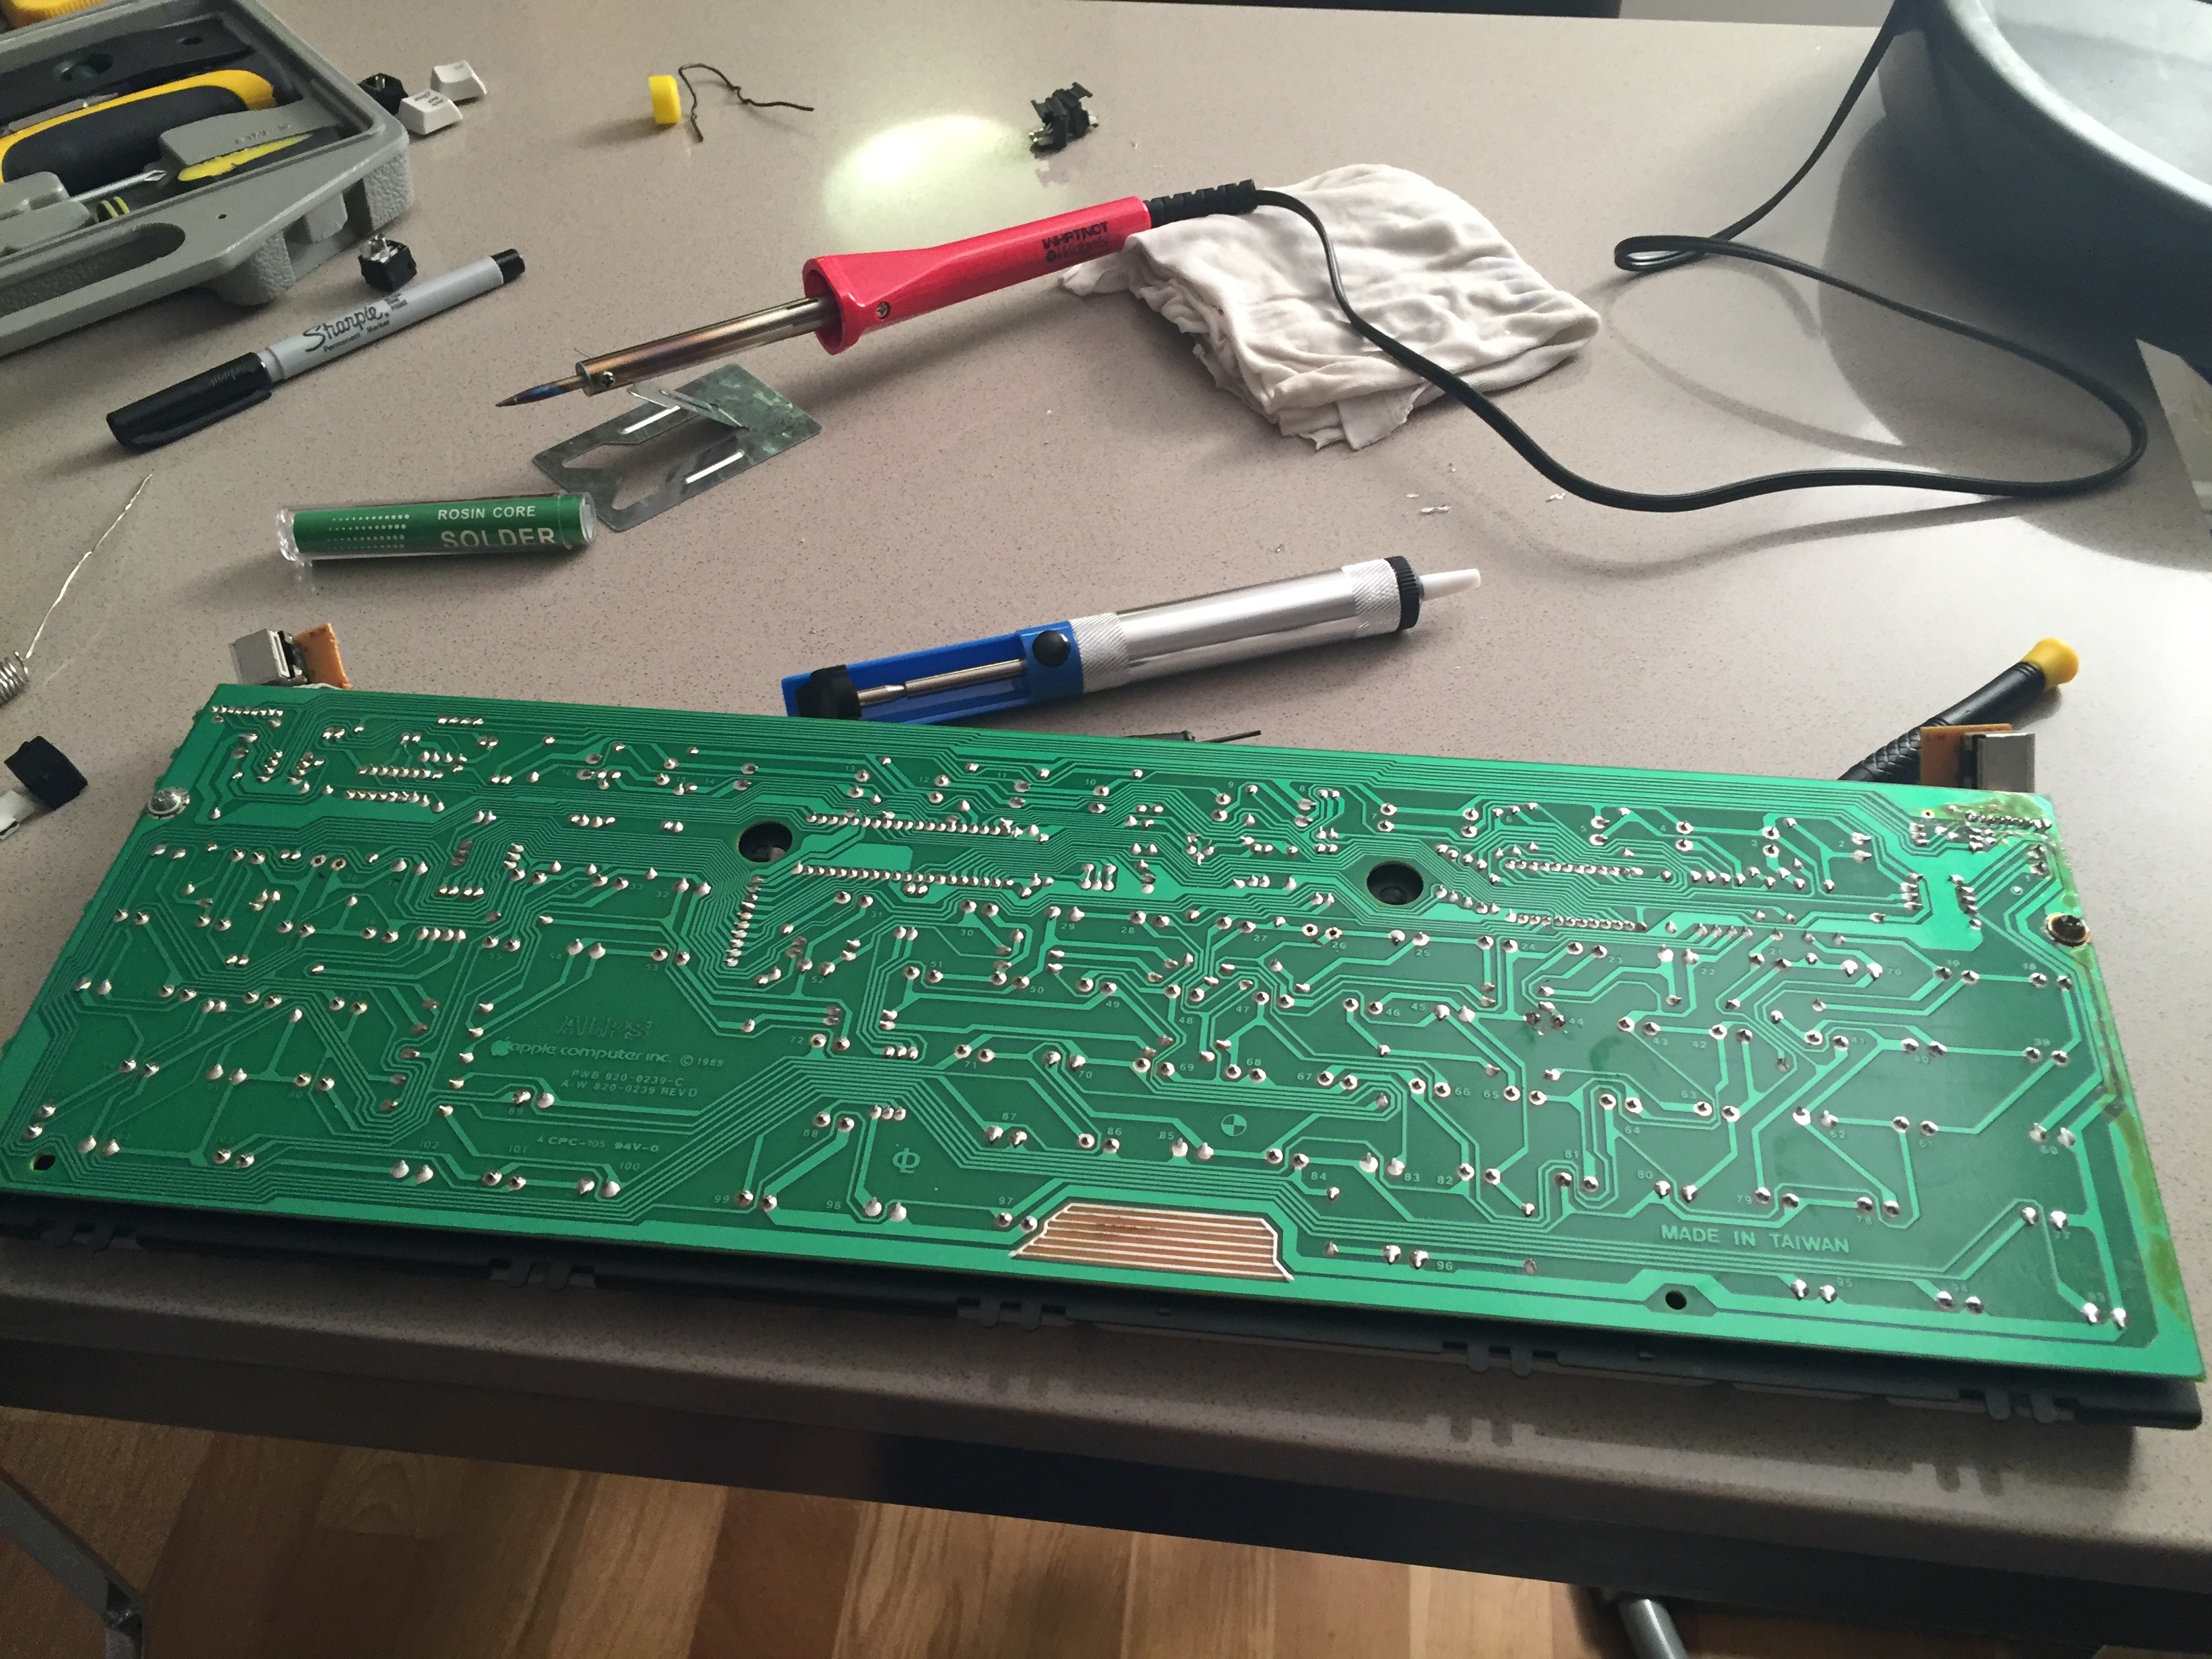
Figure 5: This is how the board looks from the back. That's where the soldering work will take place. Locate the soldering that connects the switches we want to remove. Notice the horizontal lines of solder pairs. Each line represent a row. Each pair connecting a switch. That should help you locate the switches to work on.
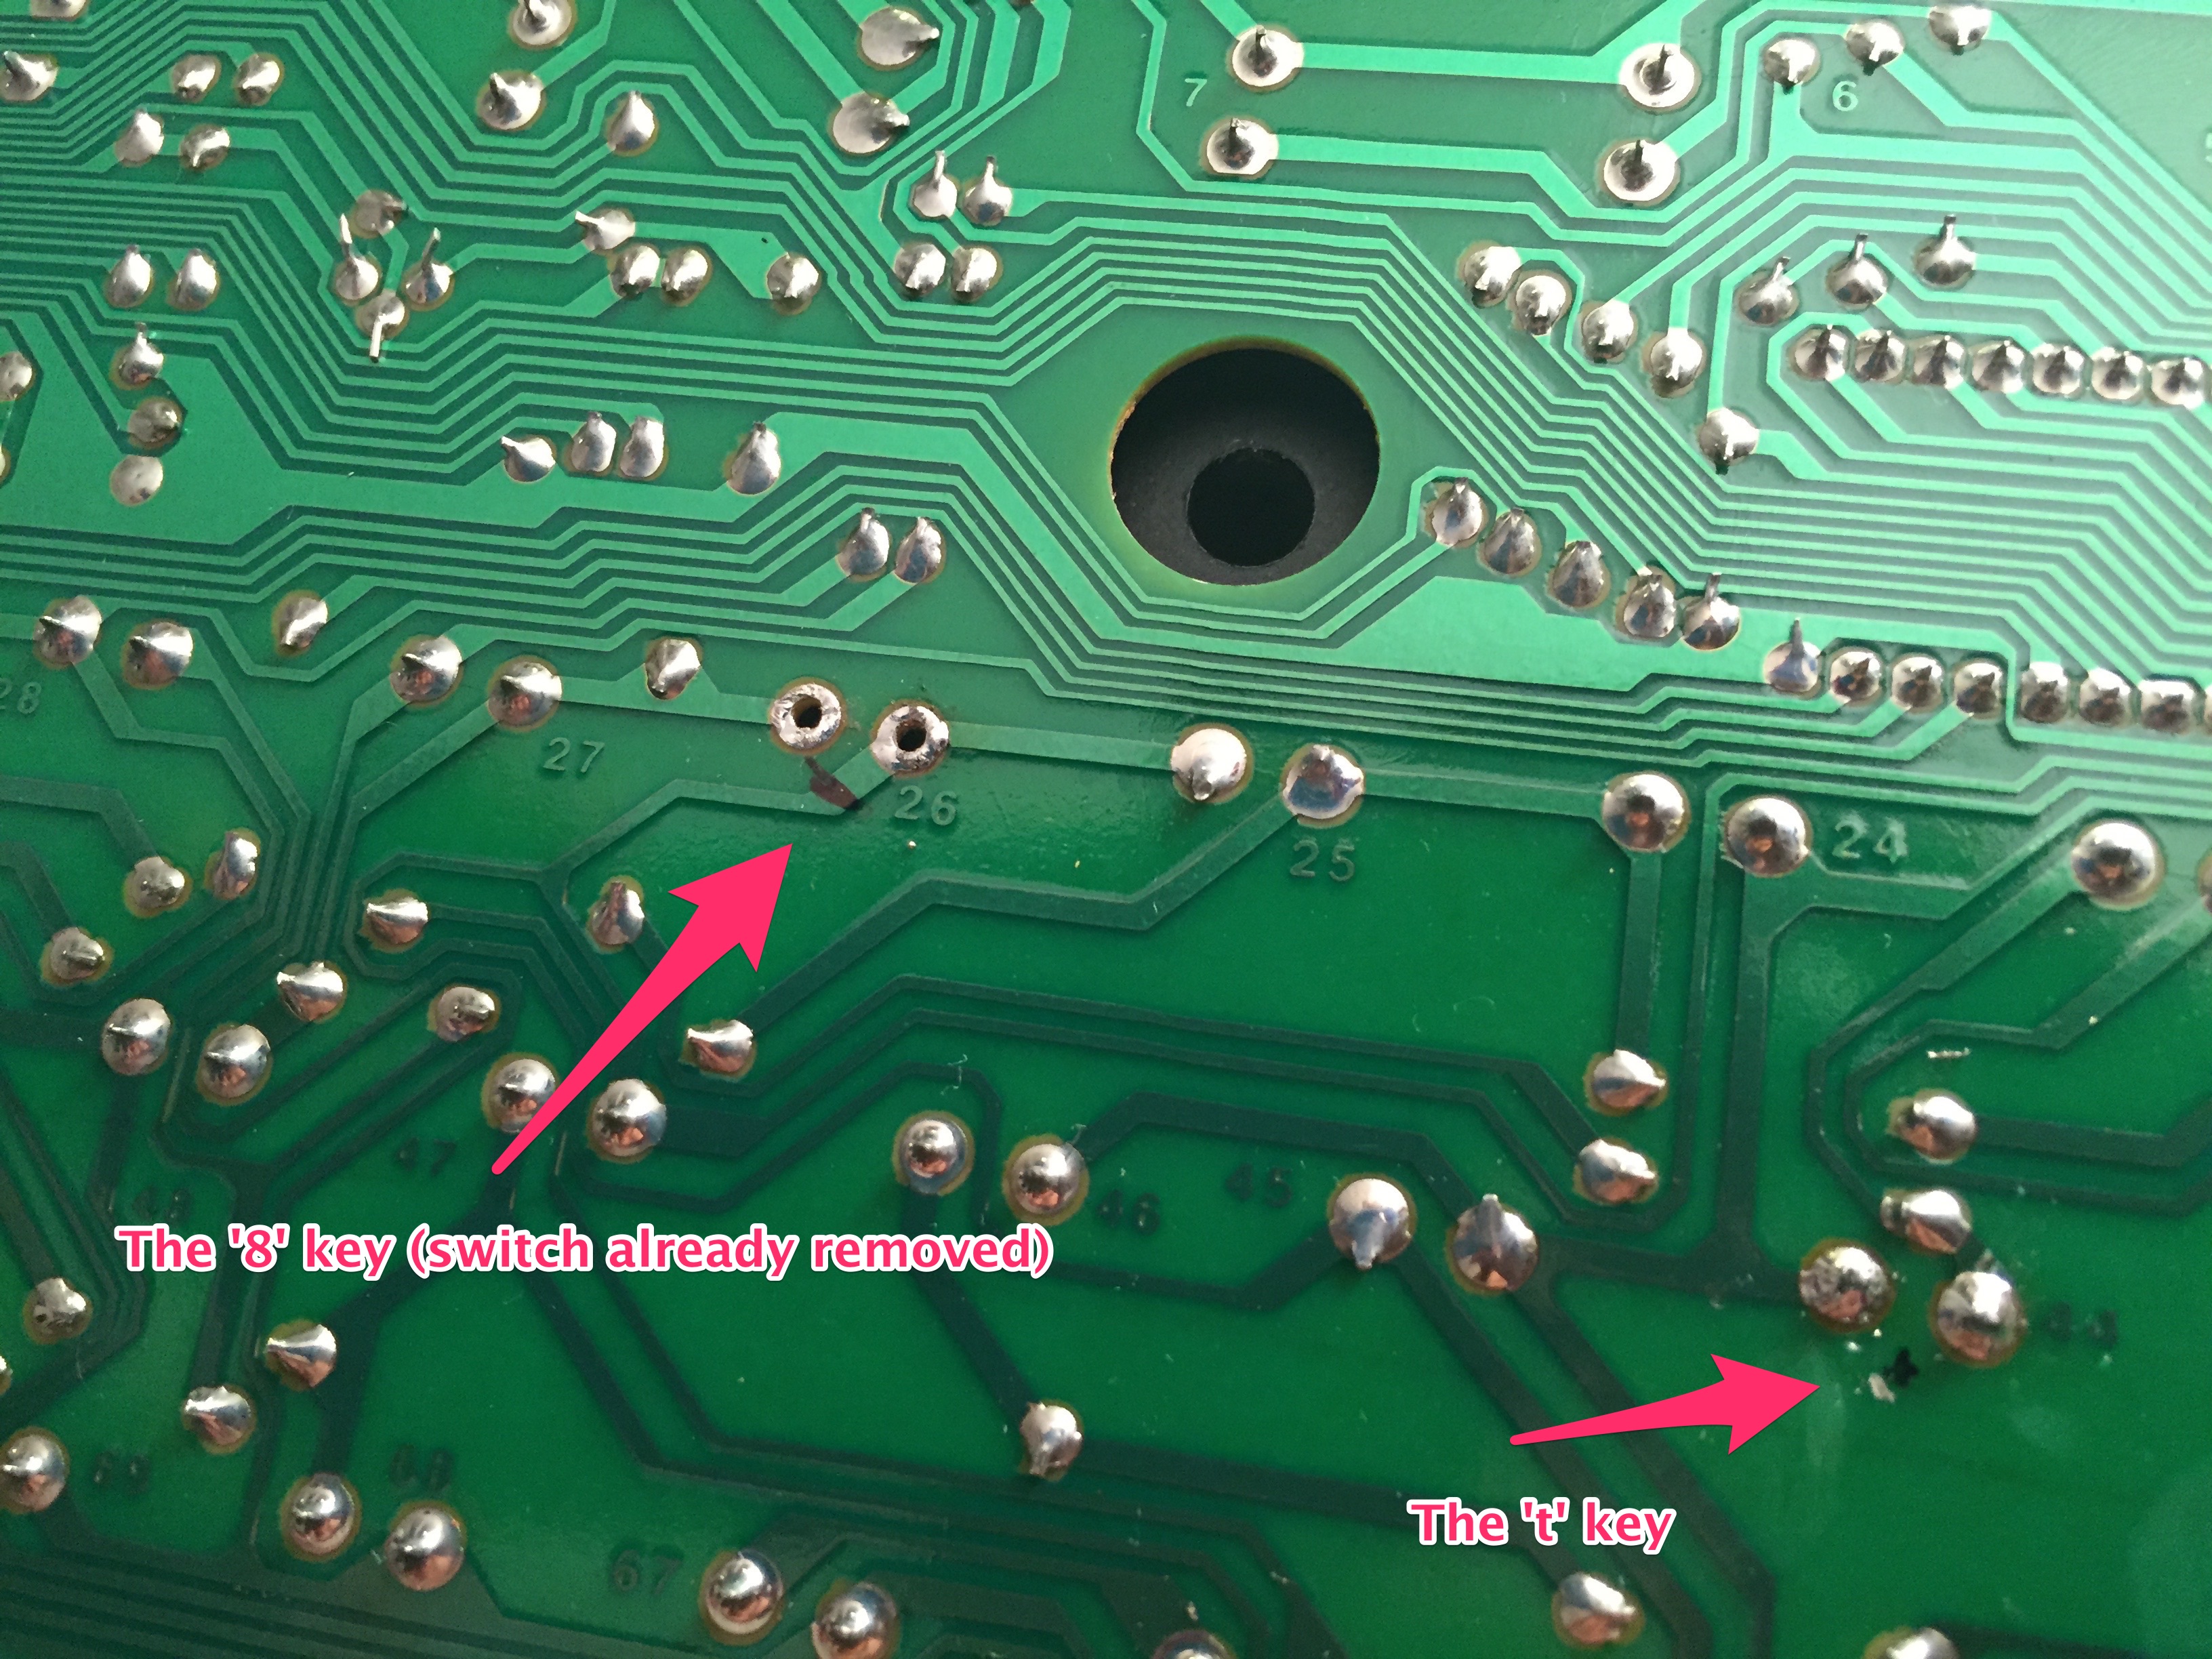
Figure 6: When locating the solders, mark them. Otherwise it's easy to get confused and remove the wrong switch.
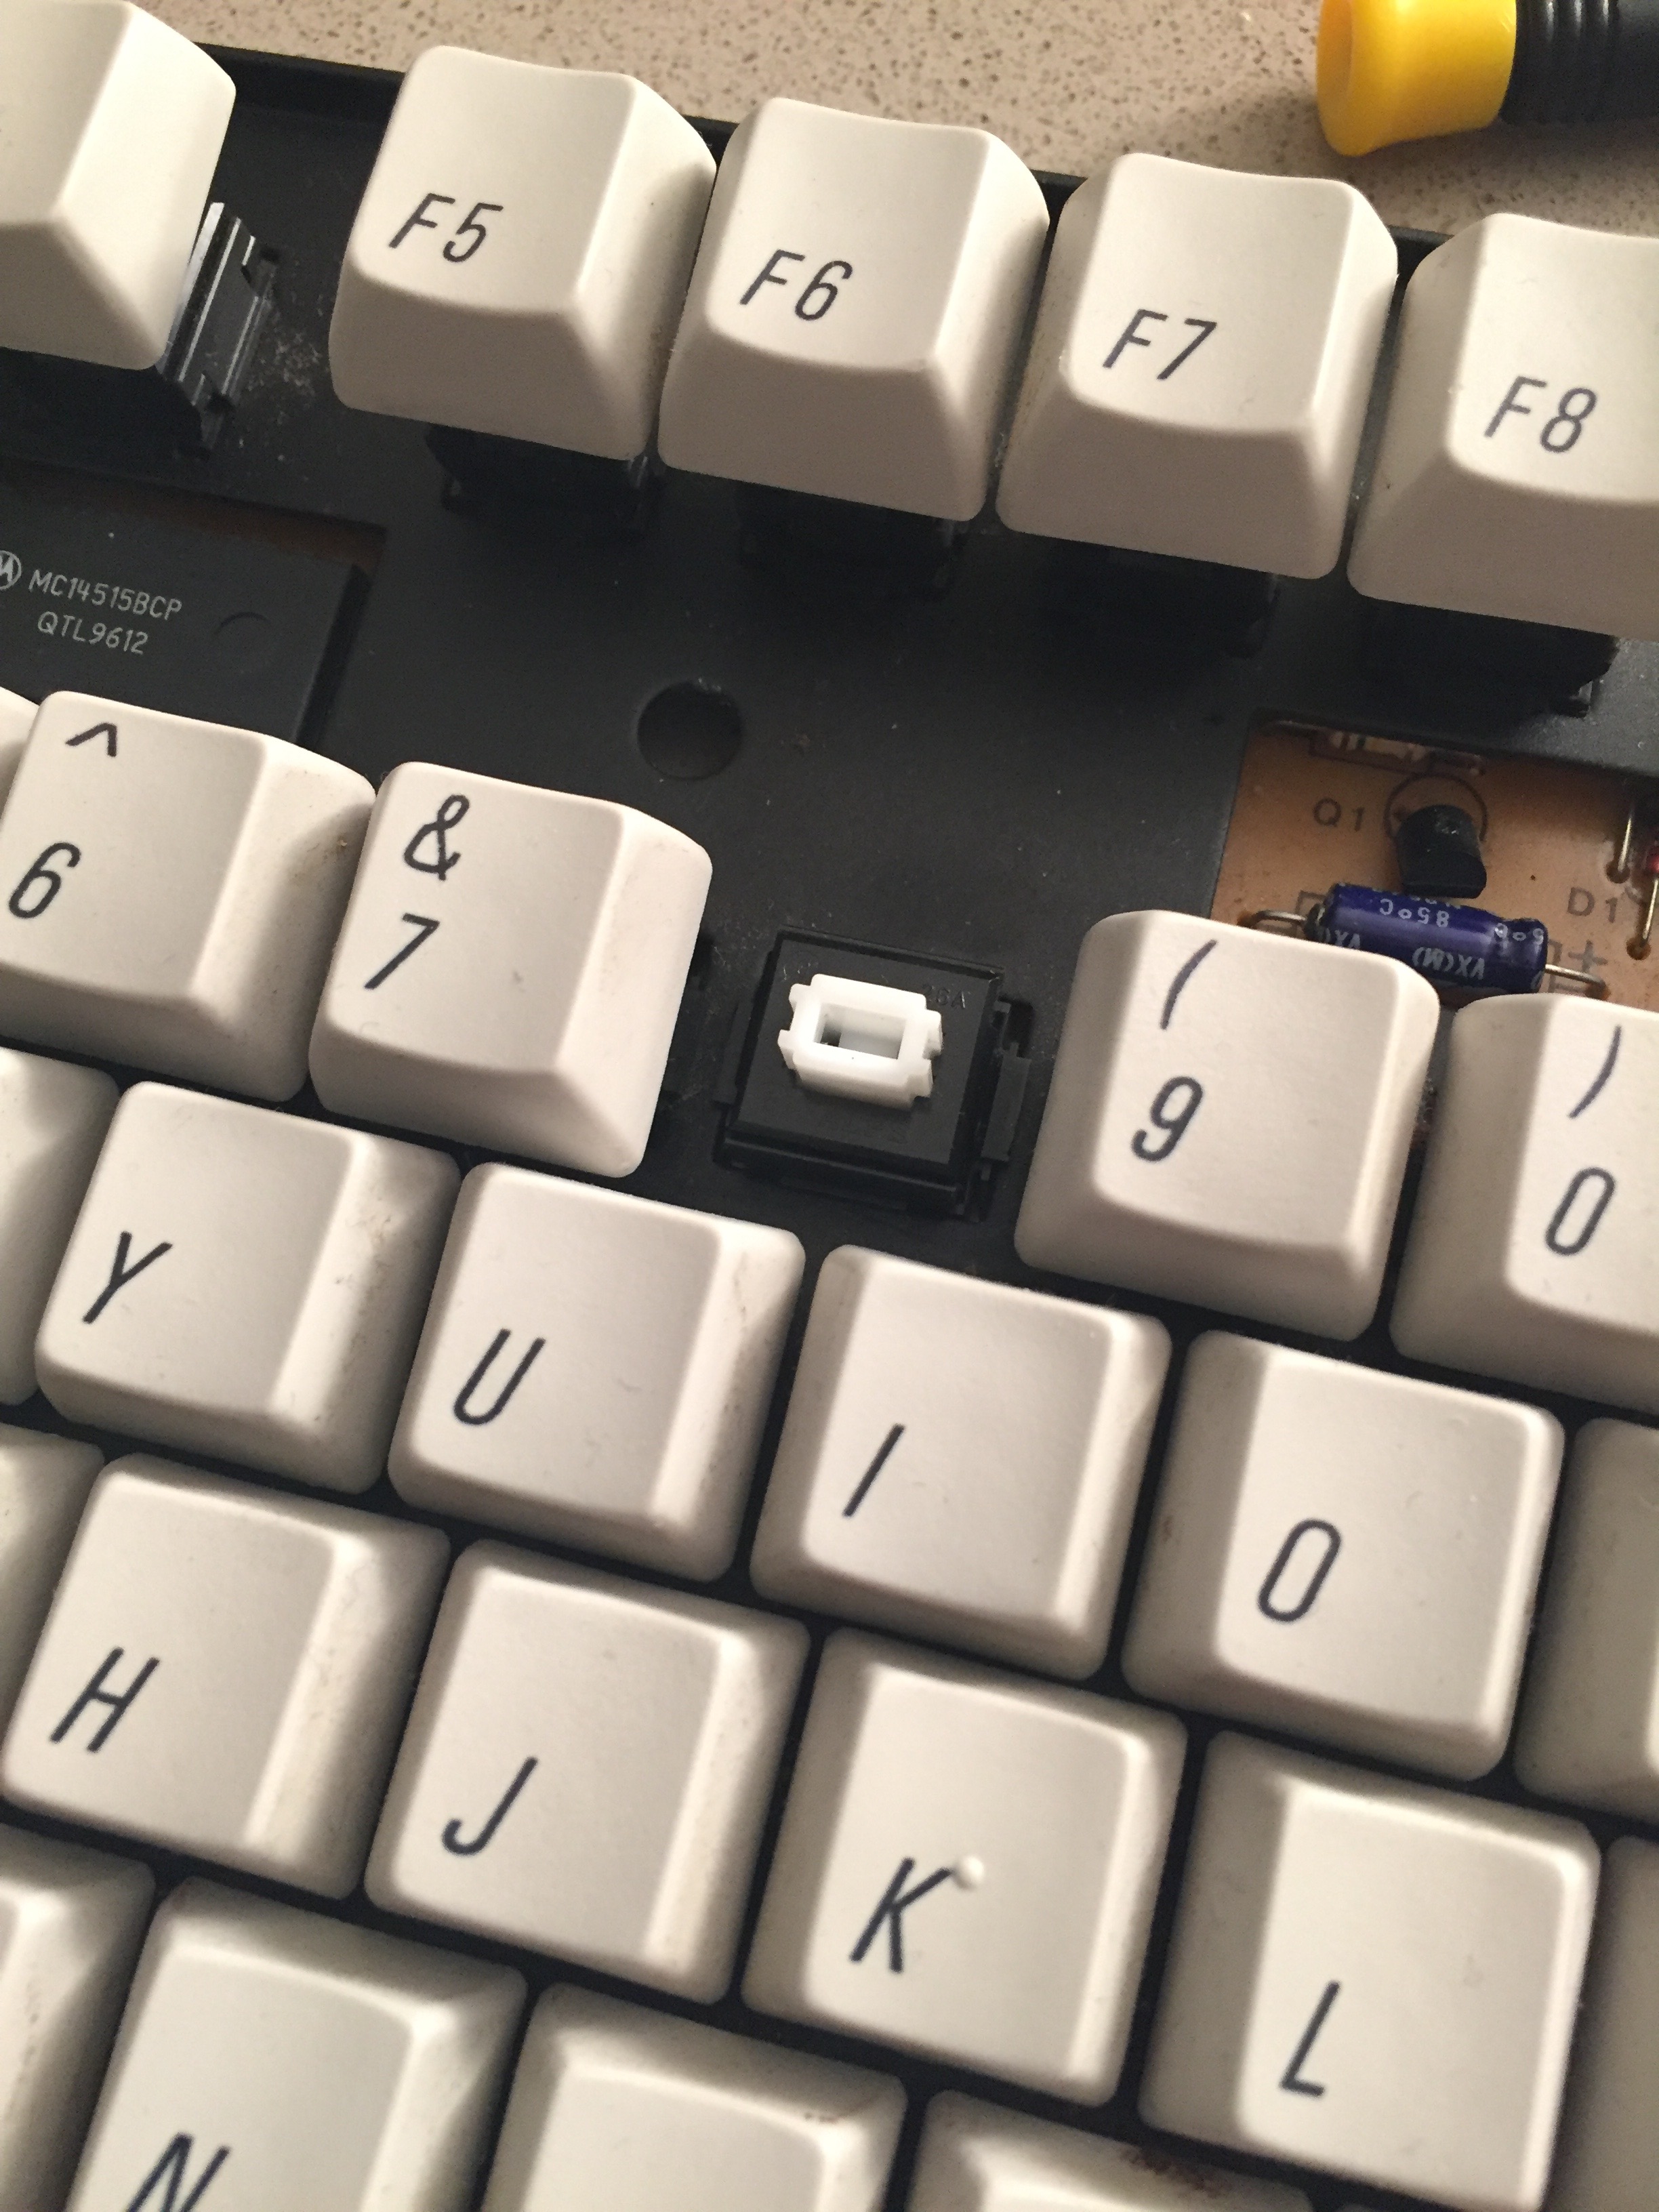
Figure 7: Starting to work - remove the '8' key
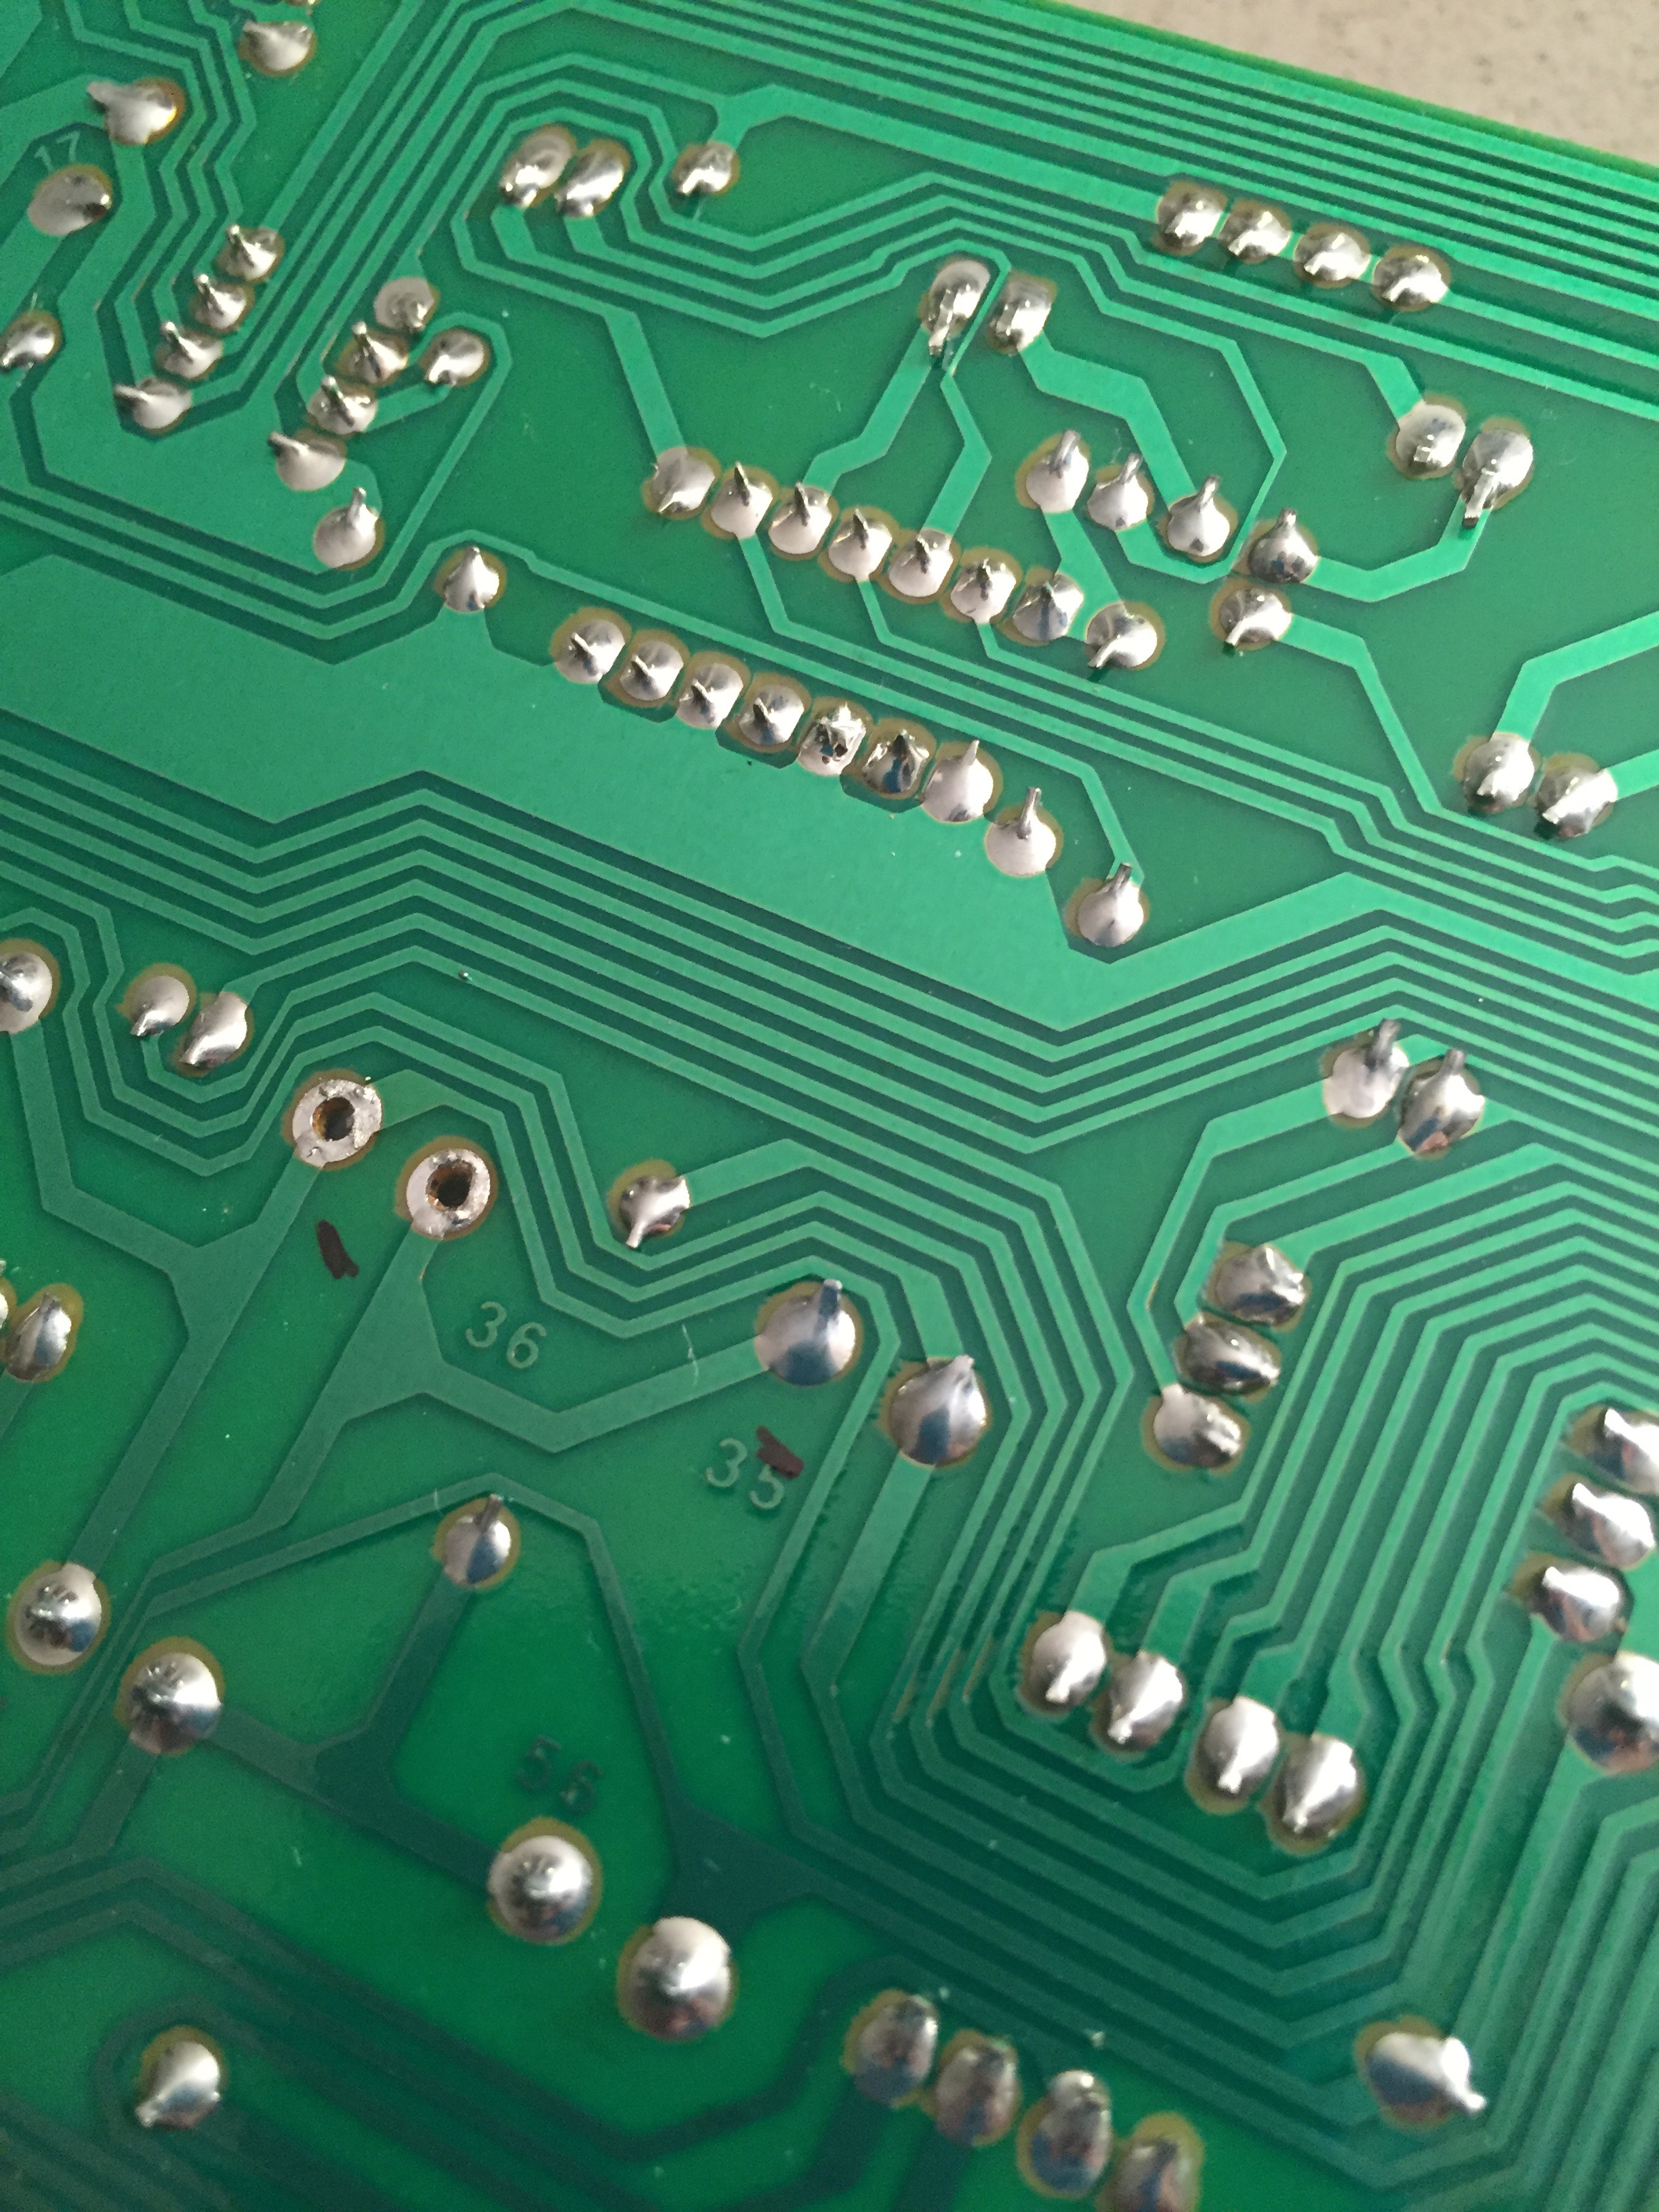
Figure 8: Melting the solder at around the '8' key switch
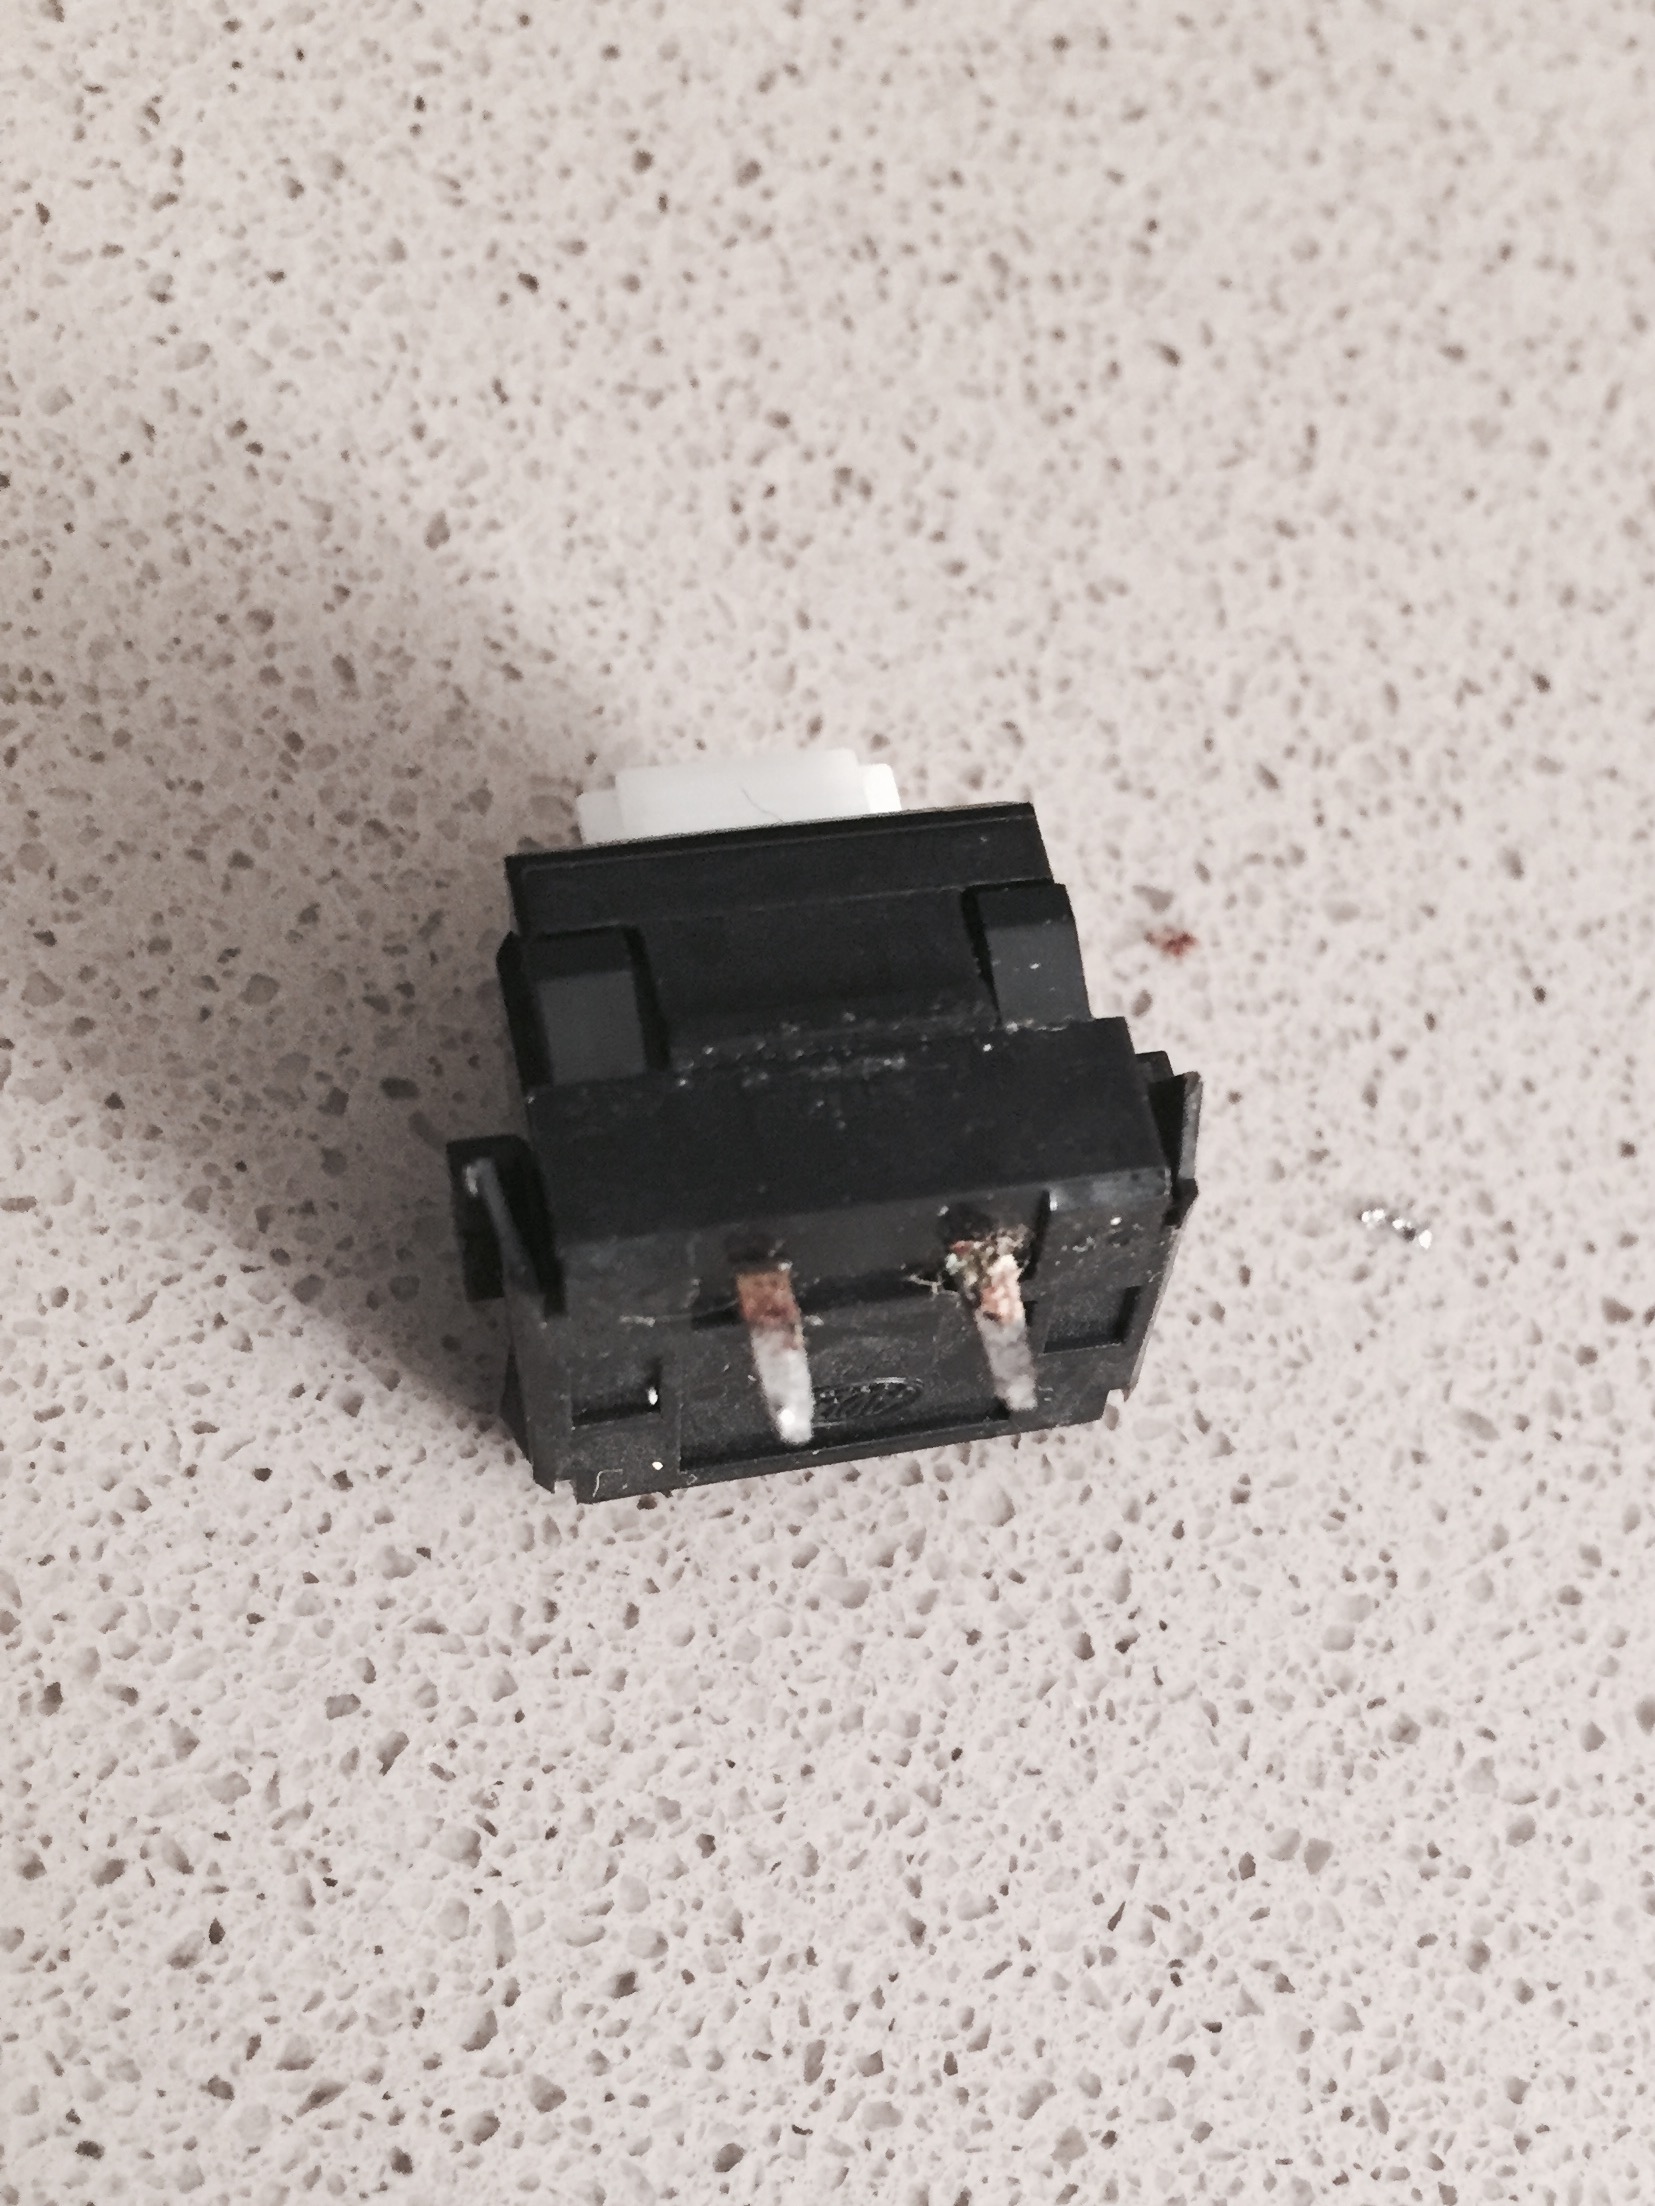
Figure 9: That's how the rotten '8' switch looks like. Notice the oxide at the legs of the switch that causing this key to not work
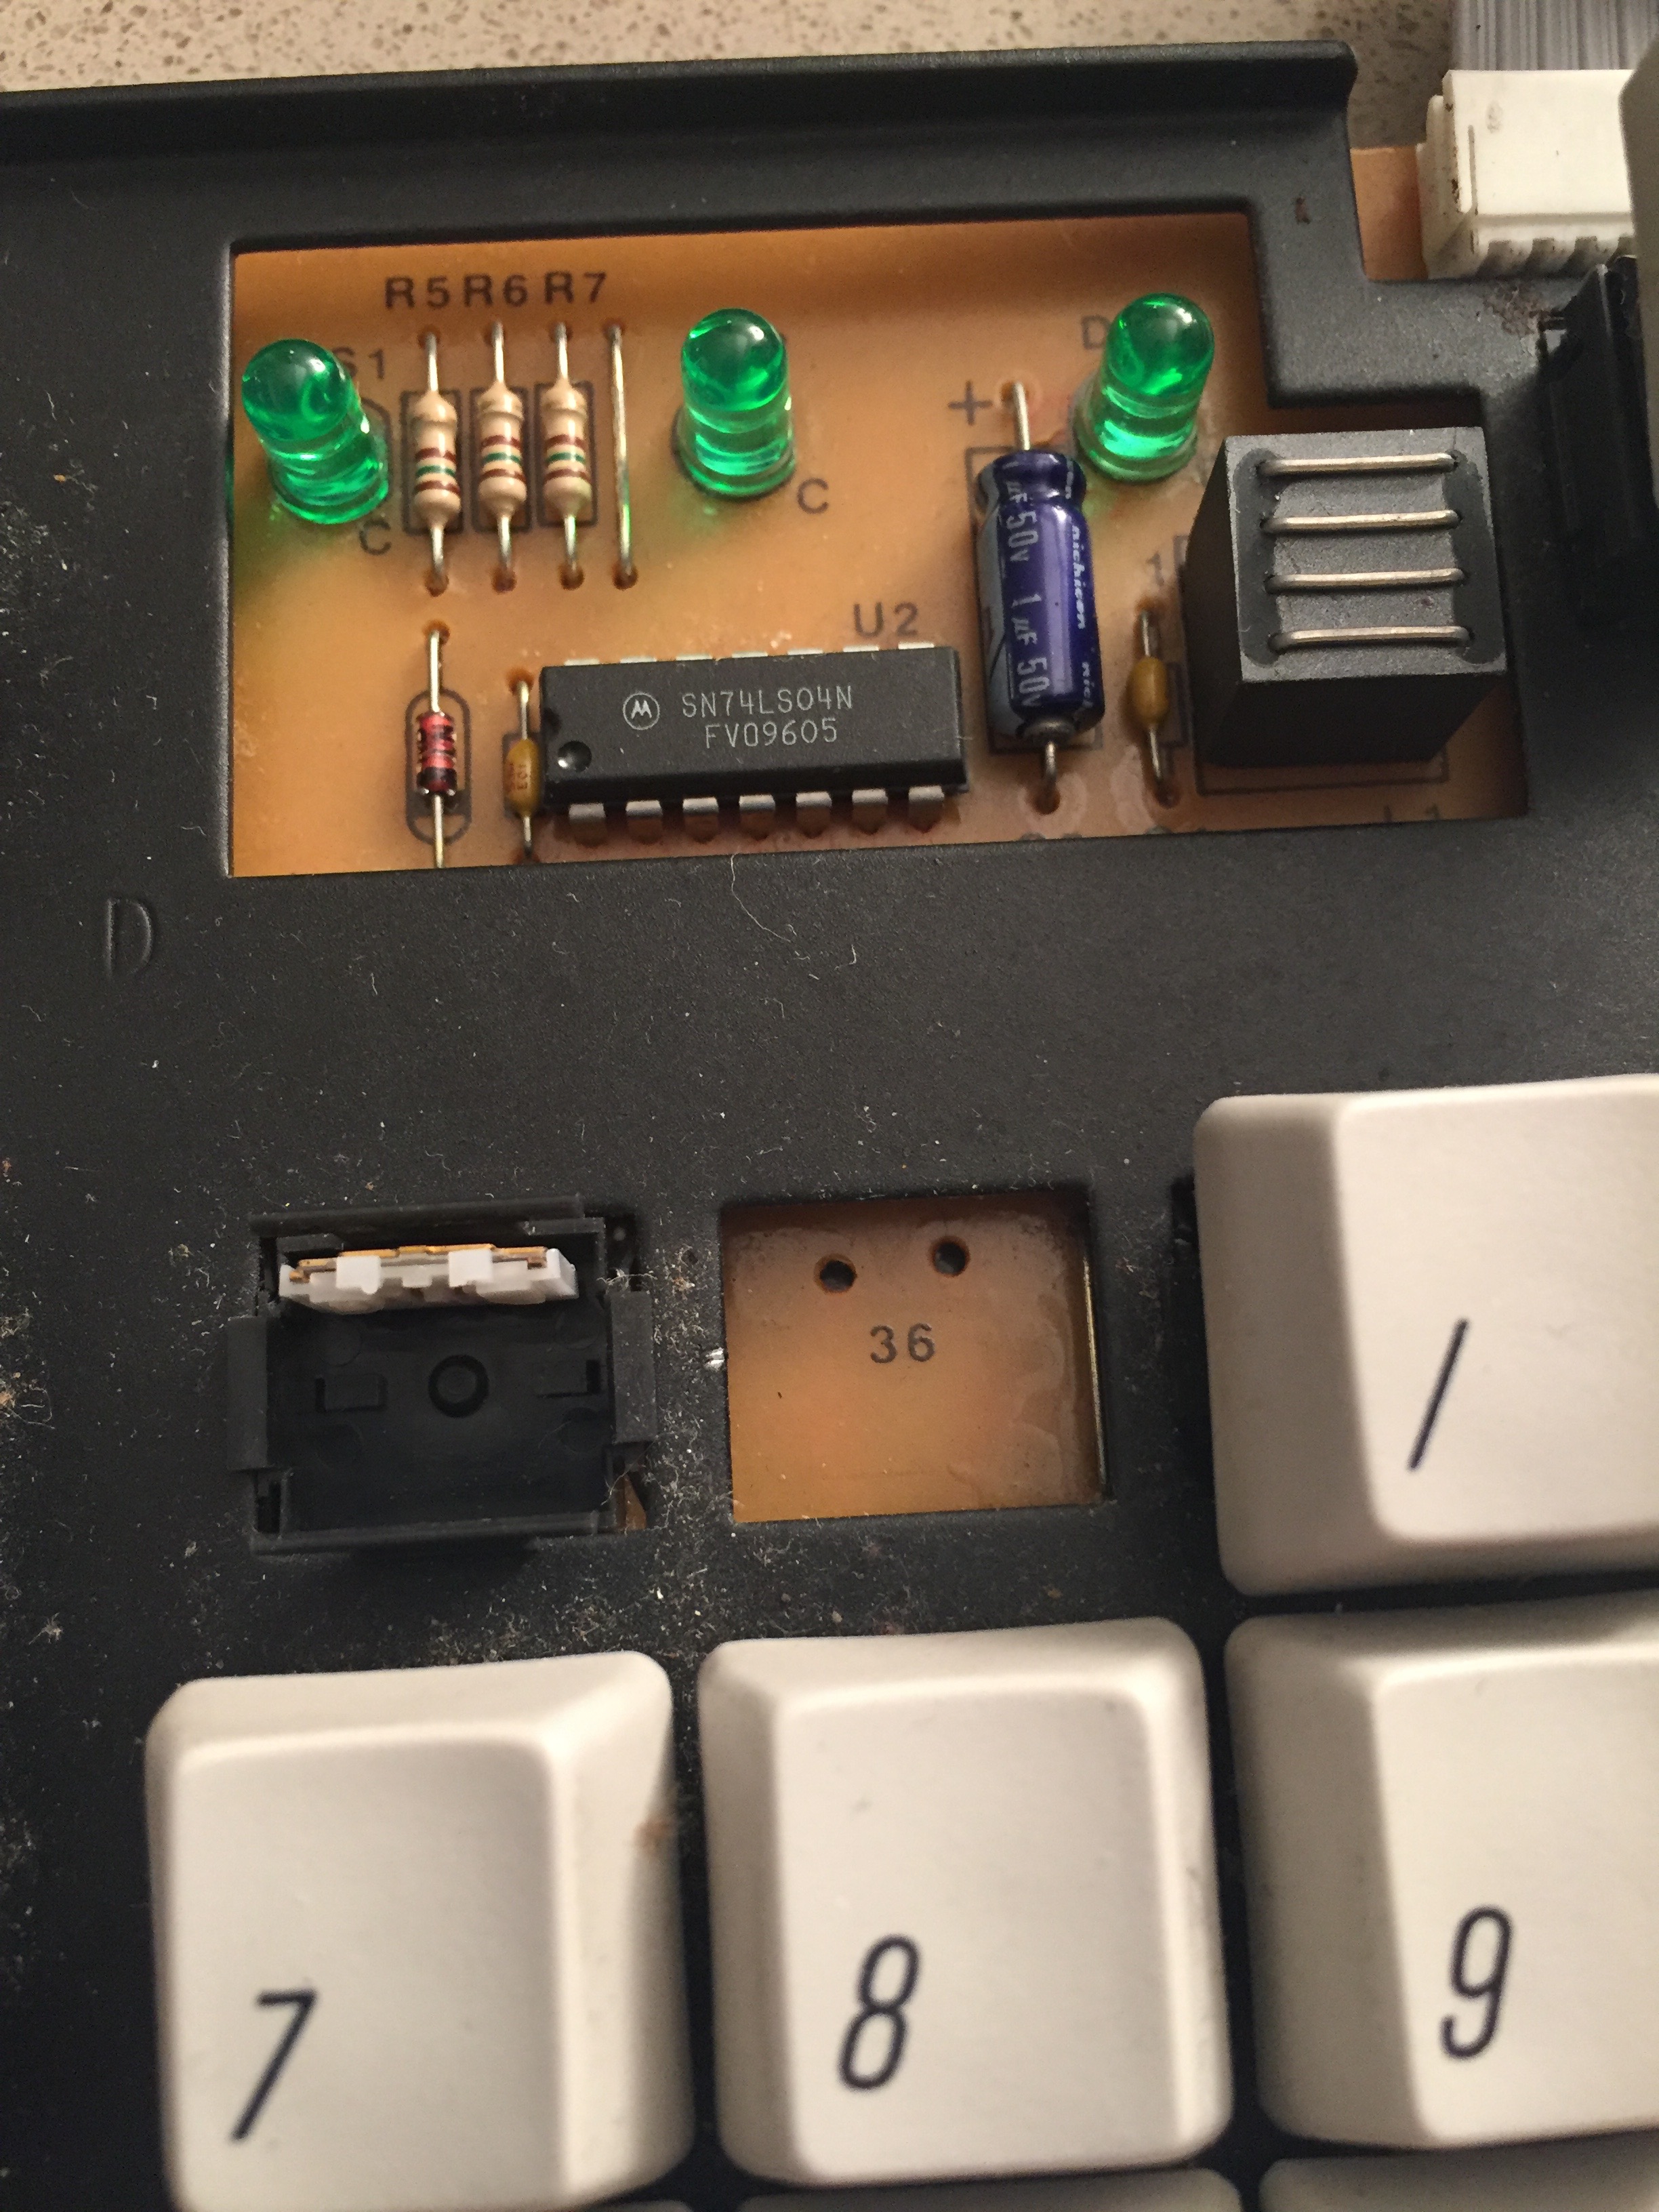
Figure 10: Now, move to pulling away the function keys that I don't use. I plan to use the switches of the num-lock, '=' and '/'
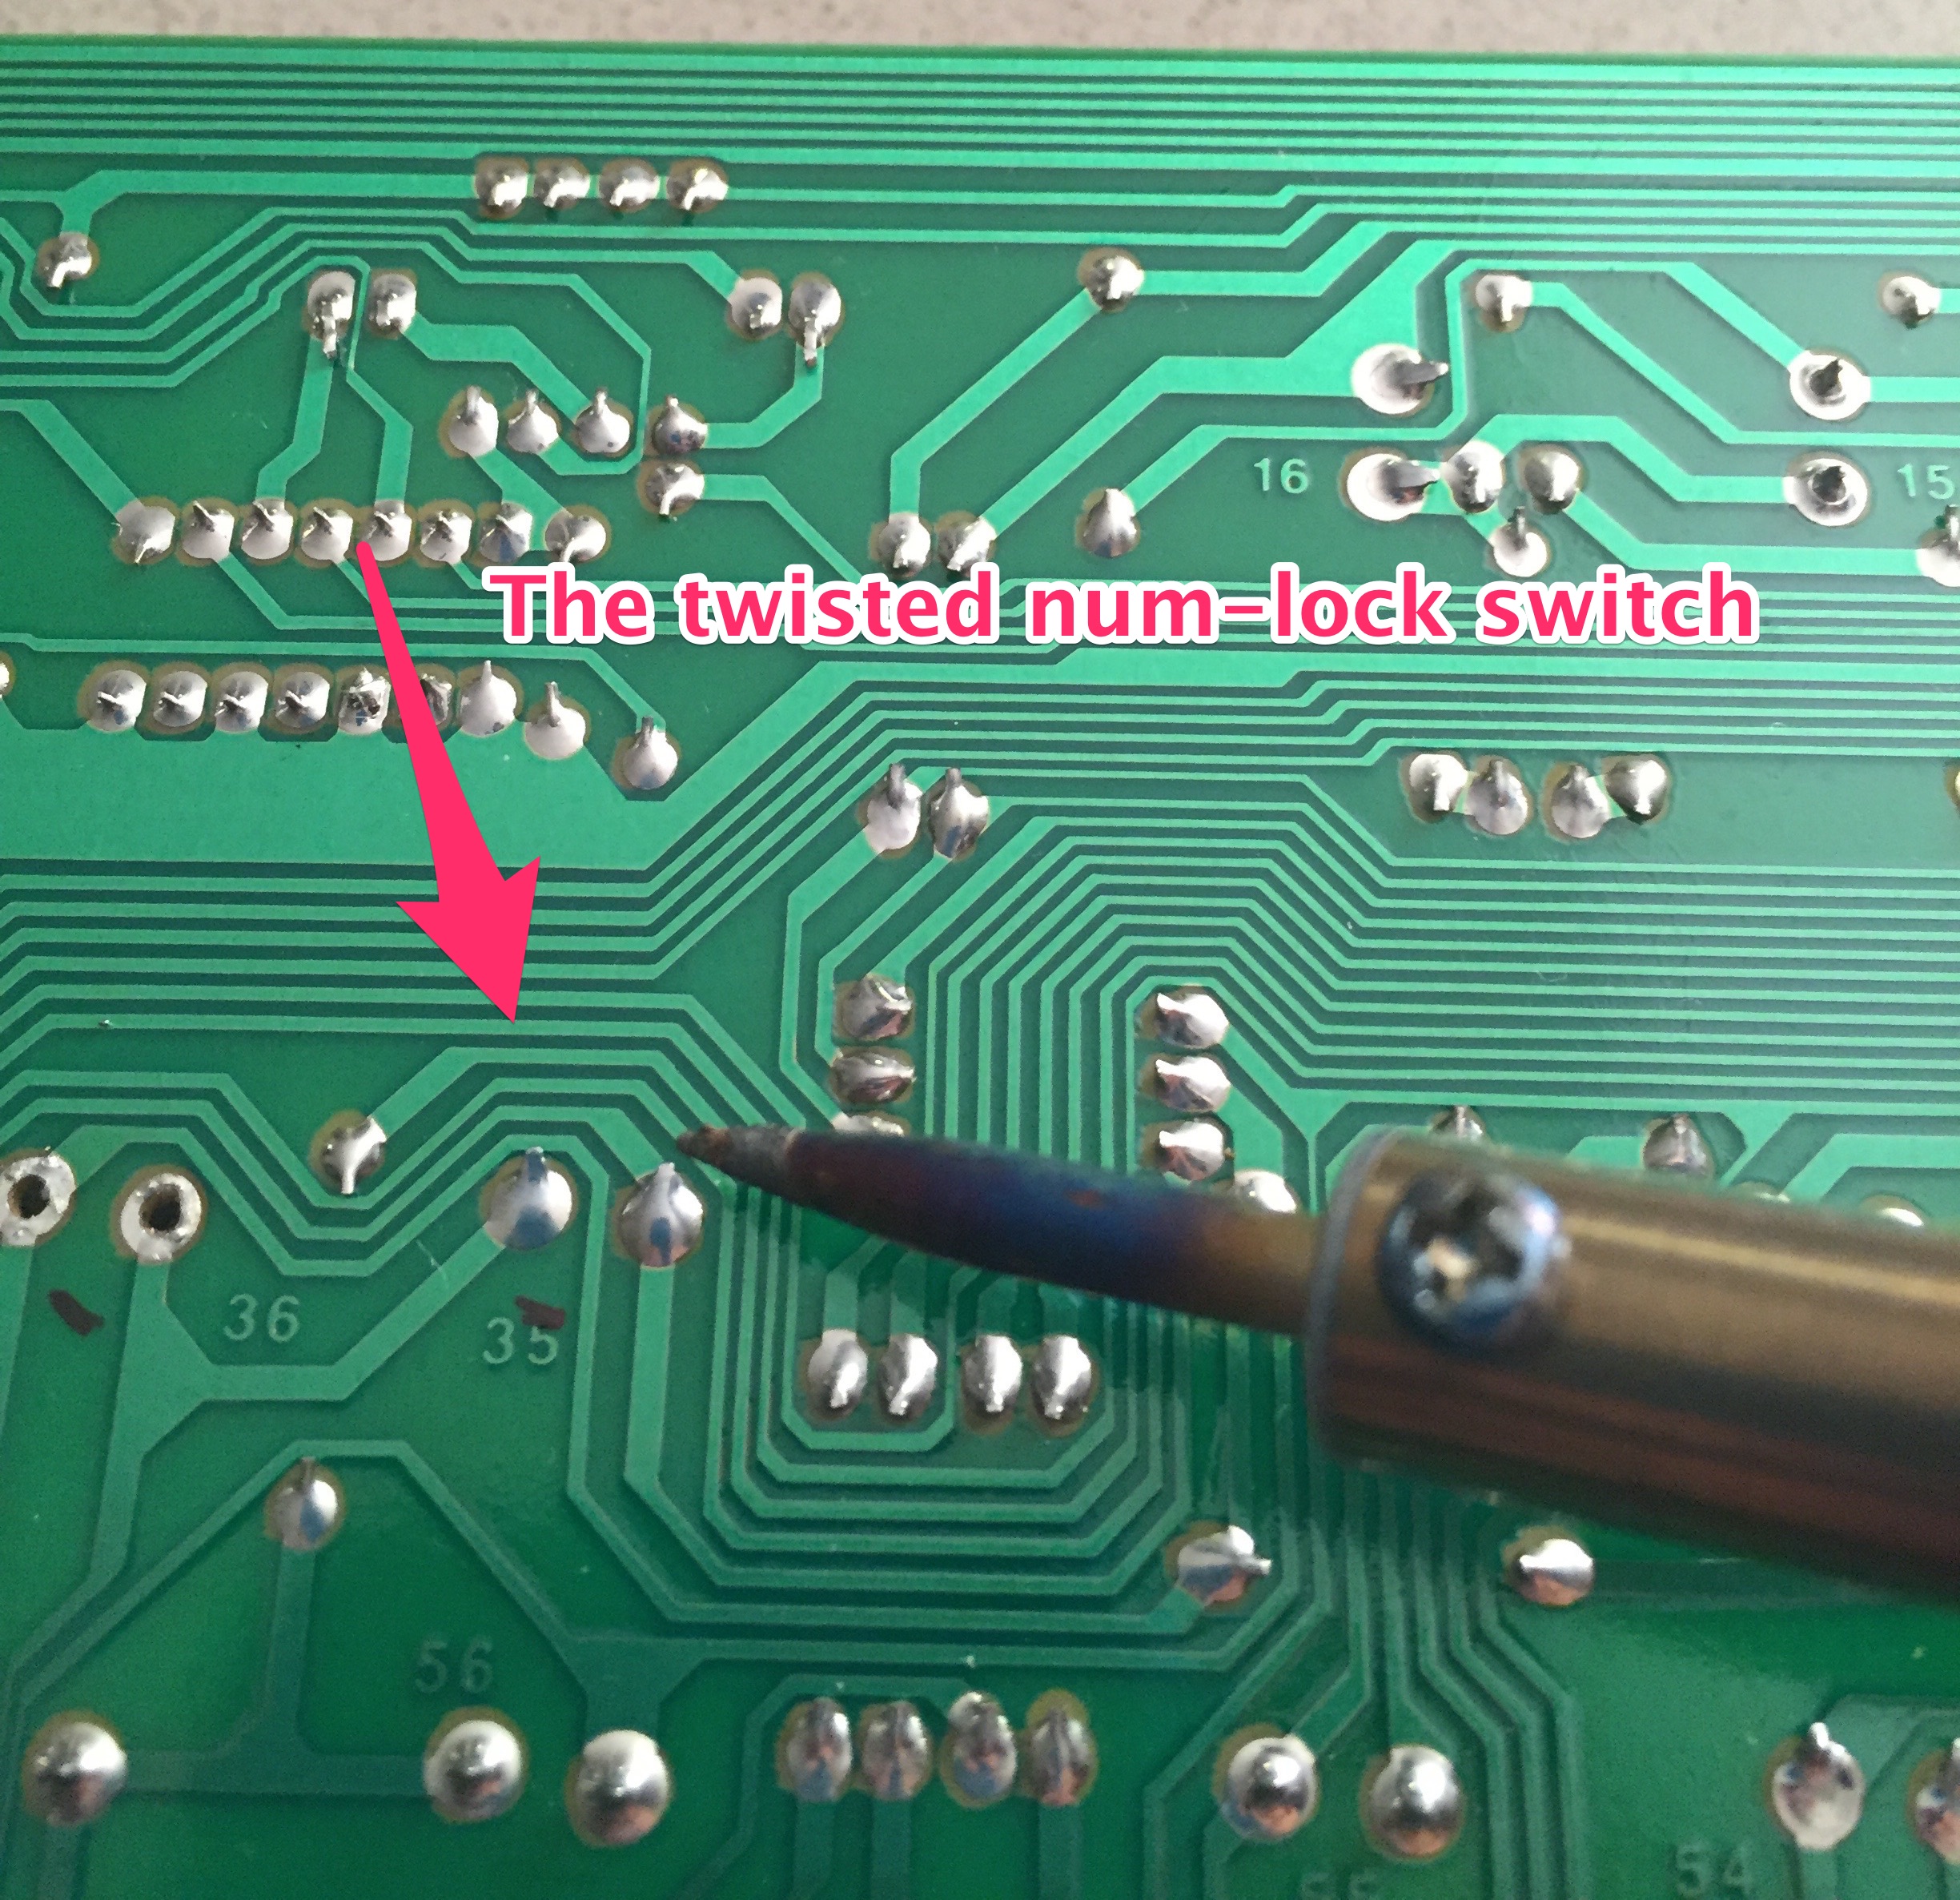
Figure 11: Look at the soldering of the num-lock - the legs are twisted. I don't want to apply physical force to straighten them so I can take them out. I'll take out the '-' switch instead
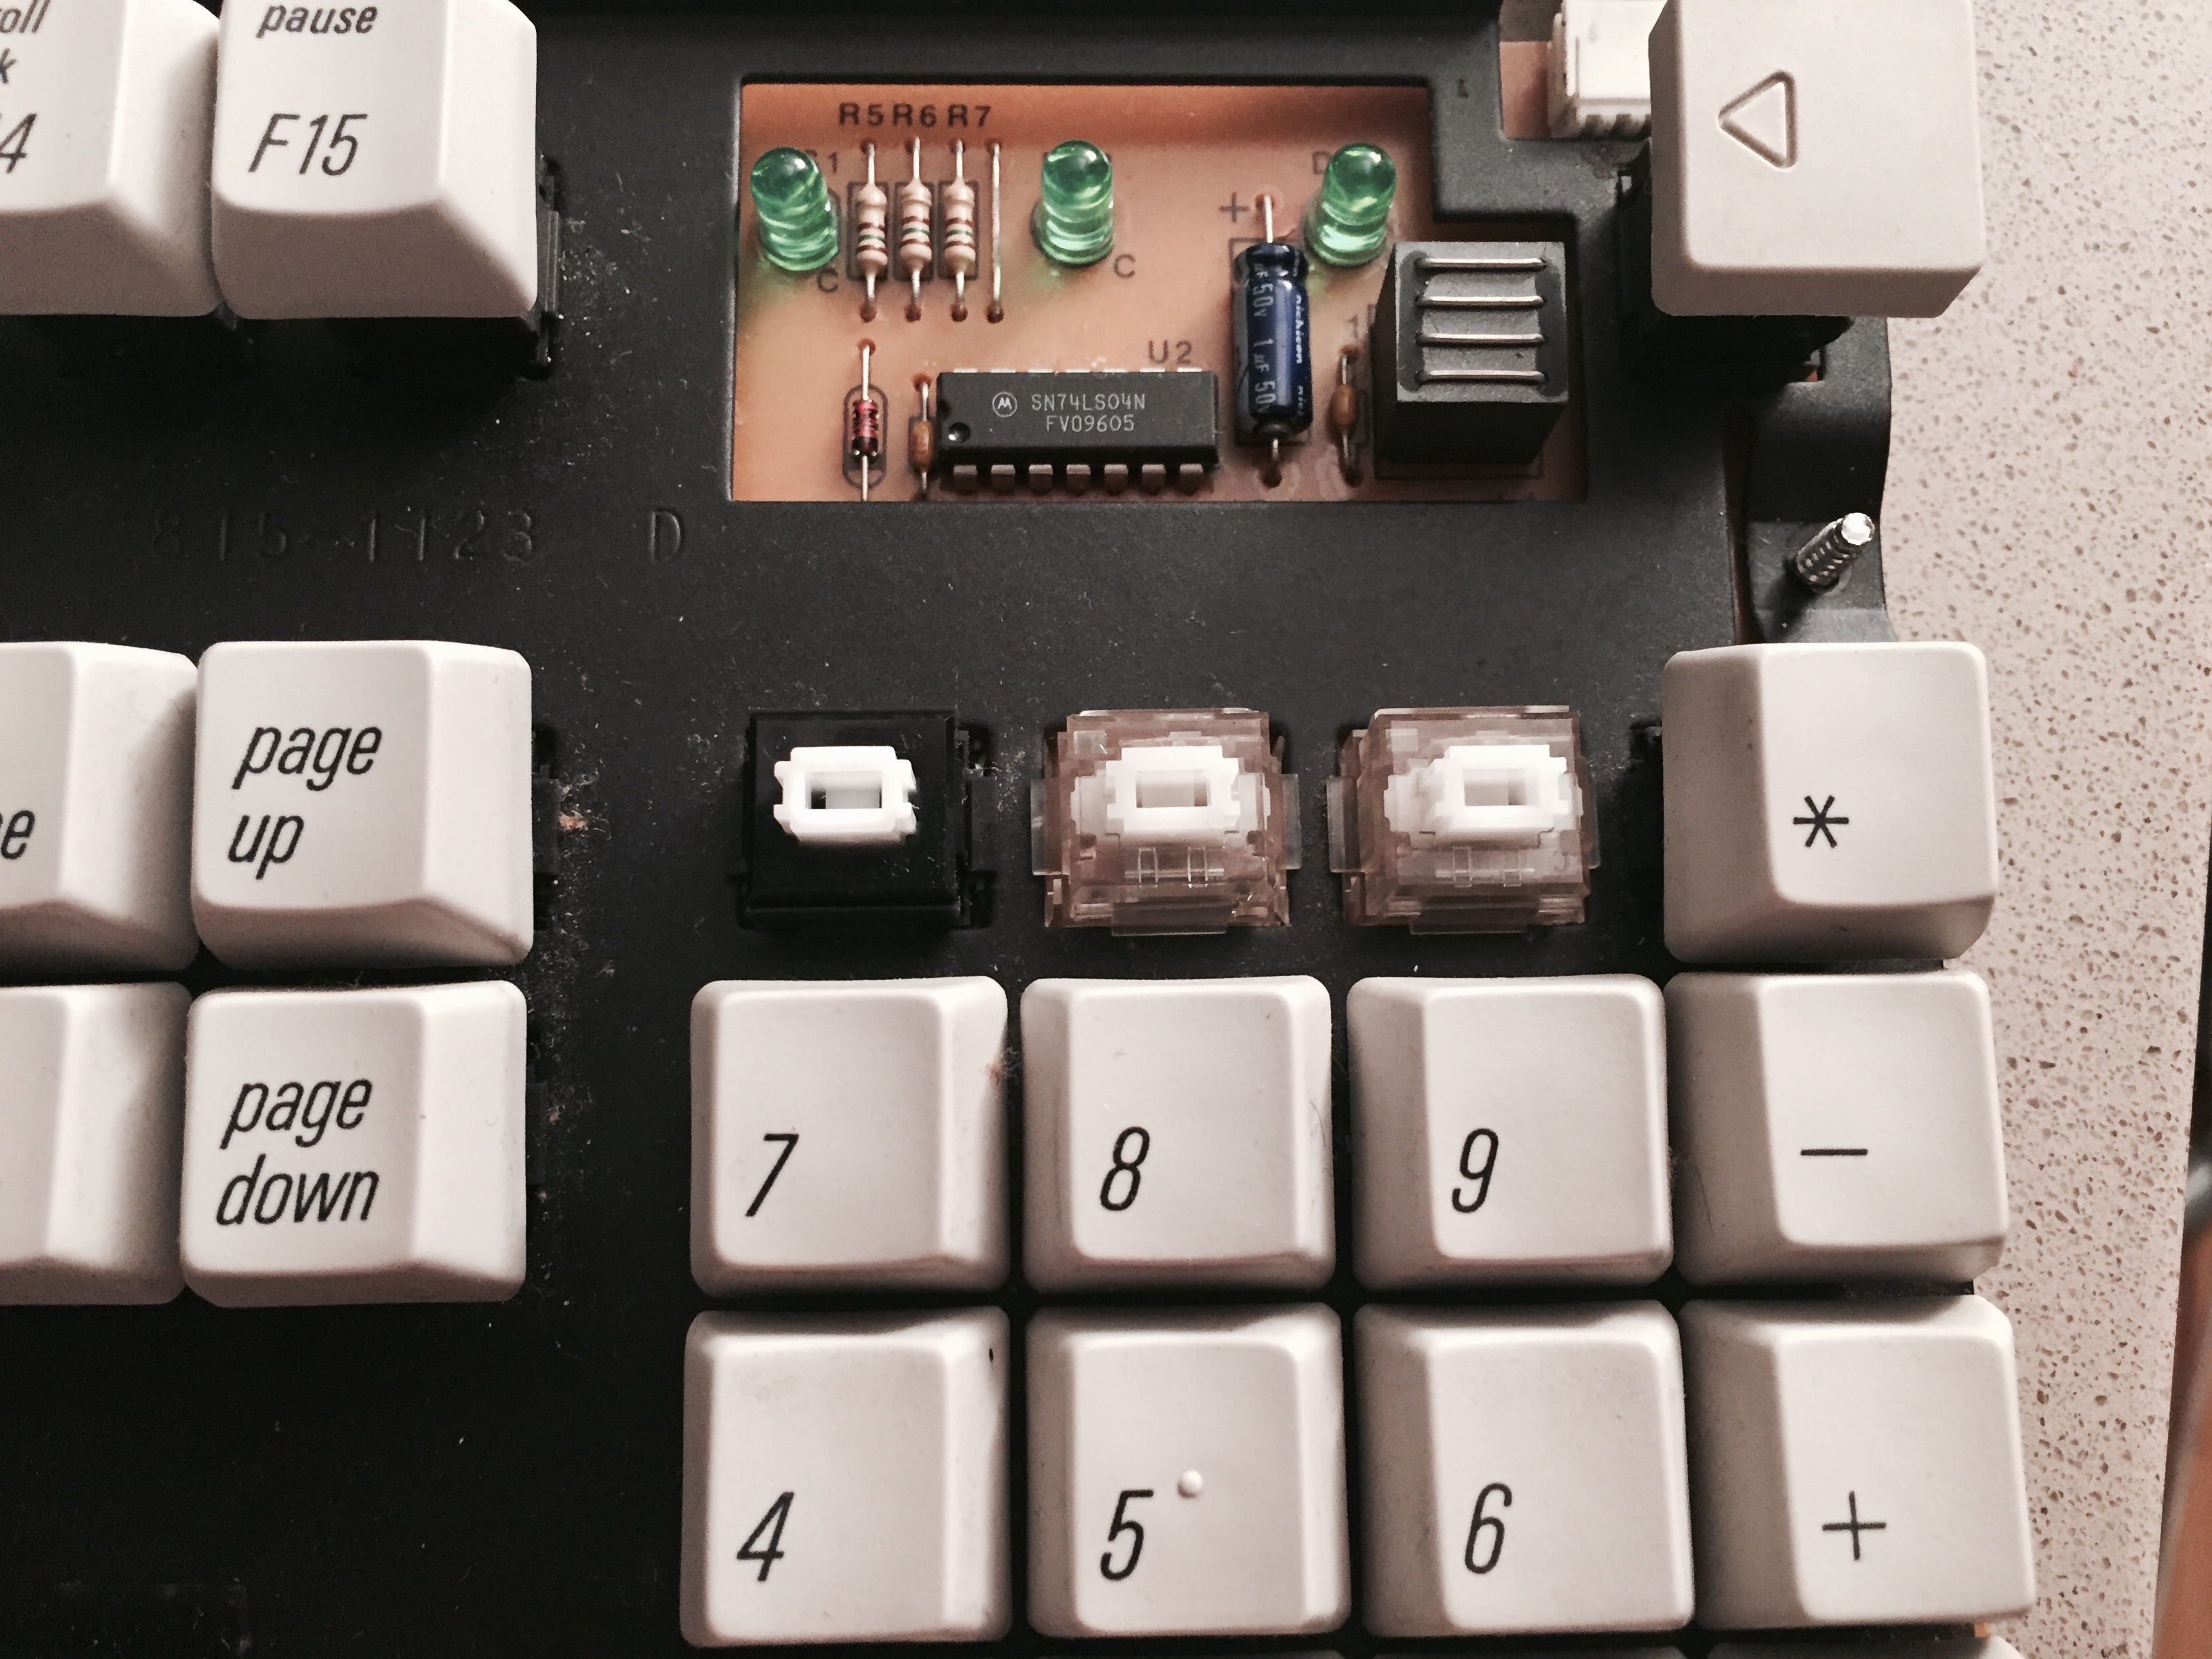
Figure 12: Plugging in the new Matias switches (don't have picture of the actual soldering process)
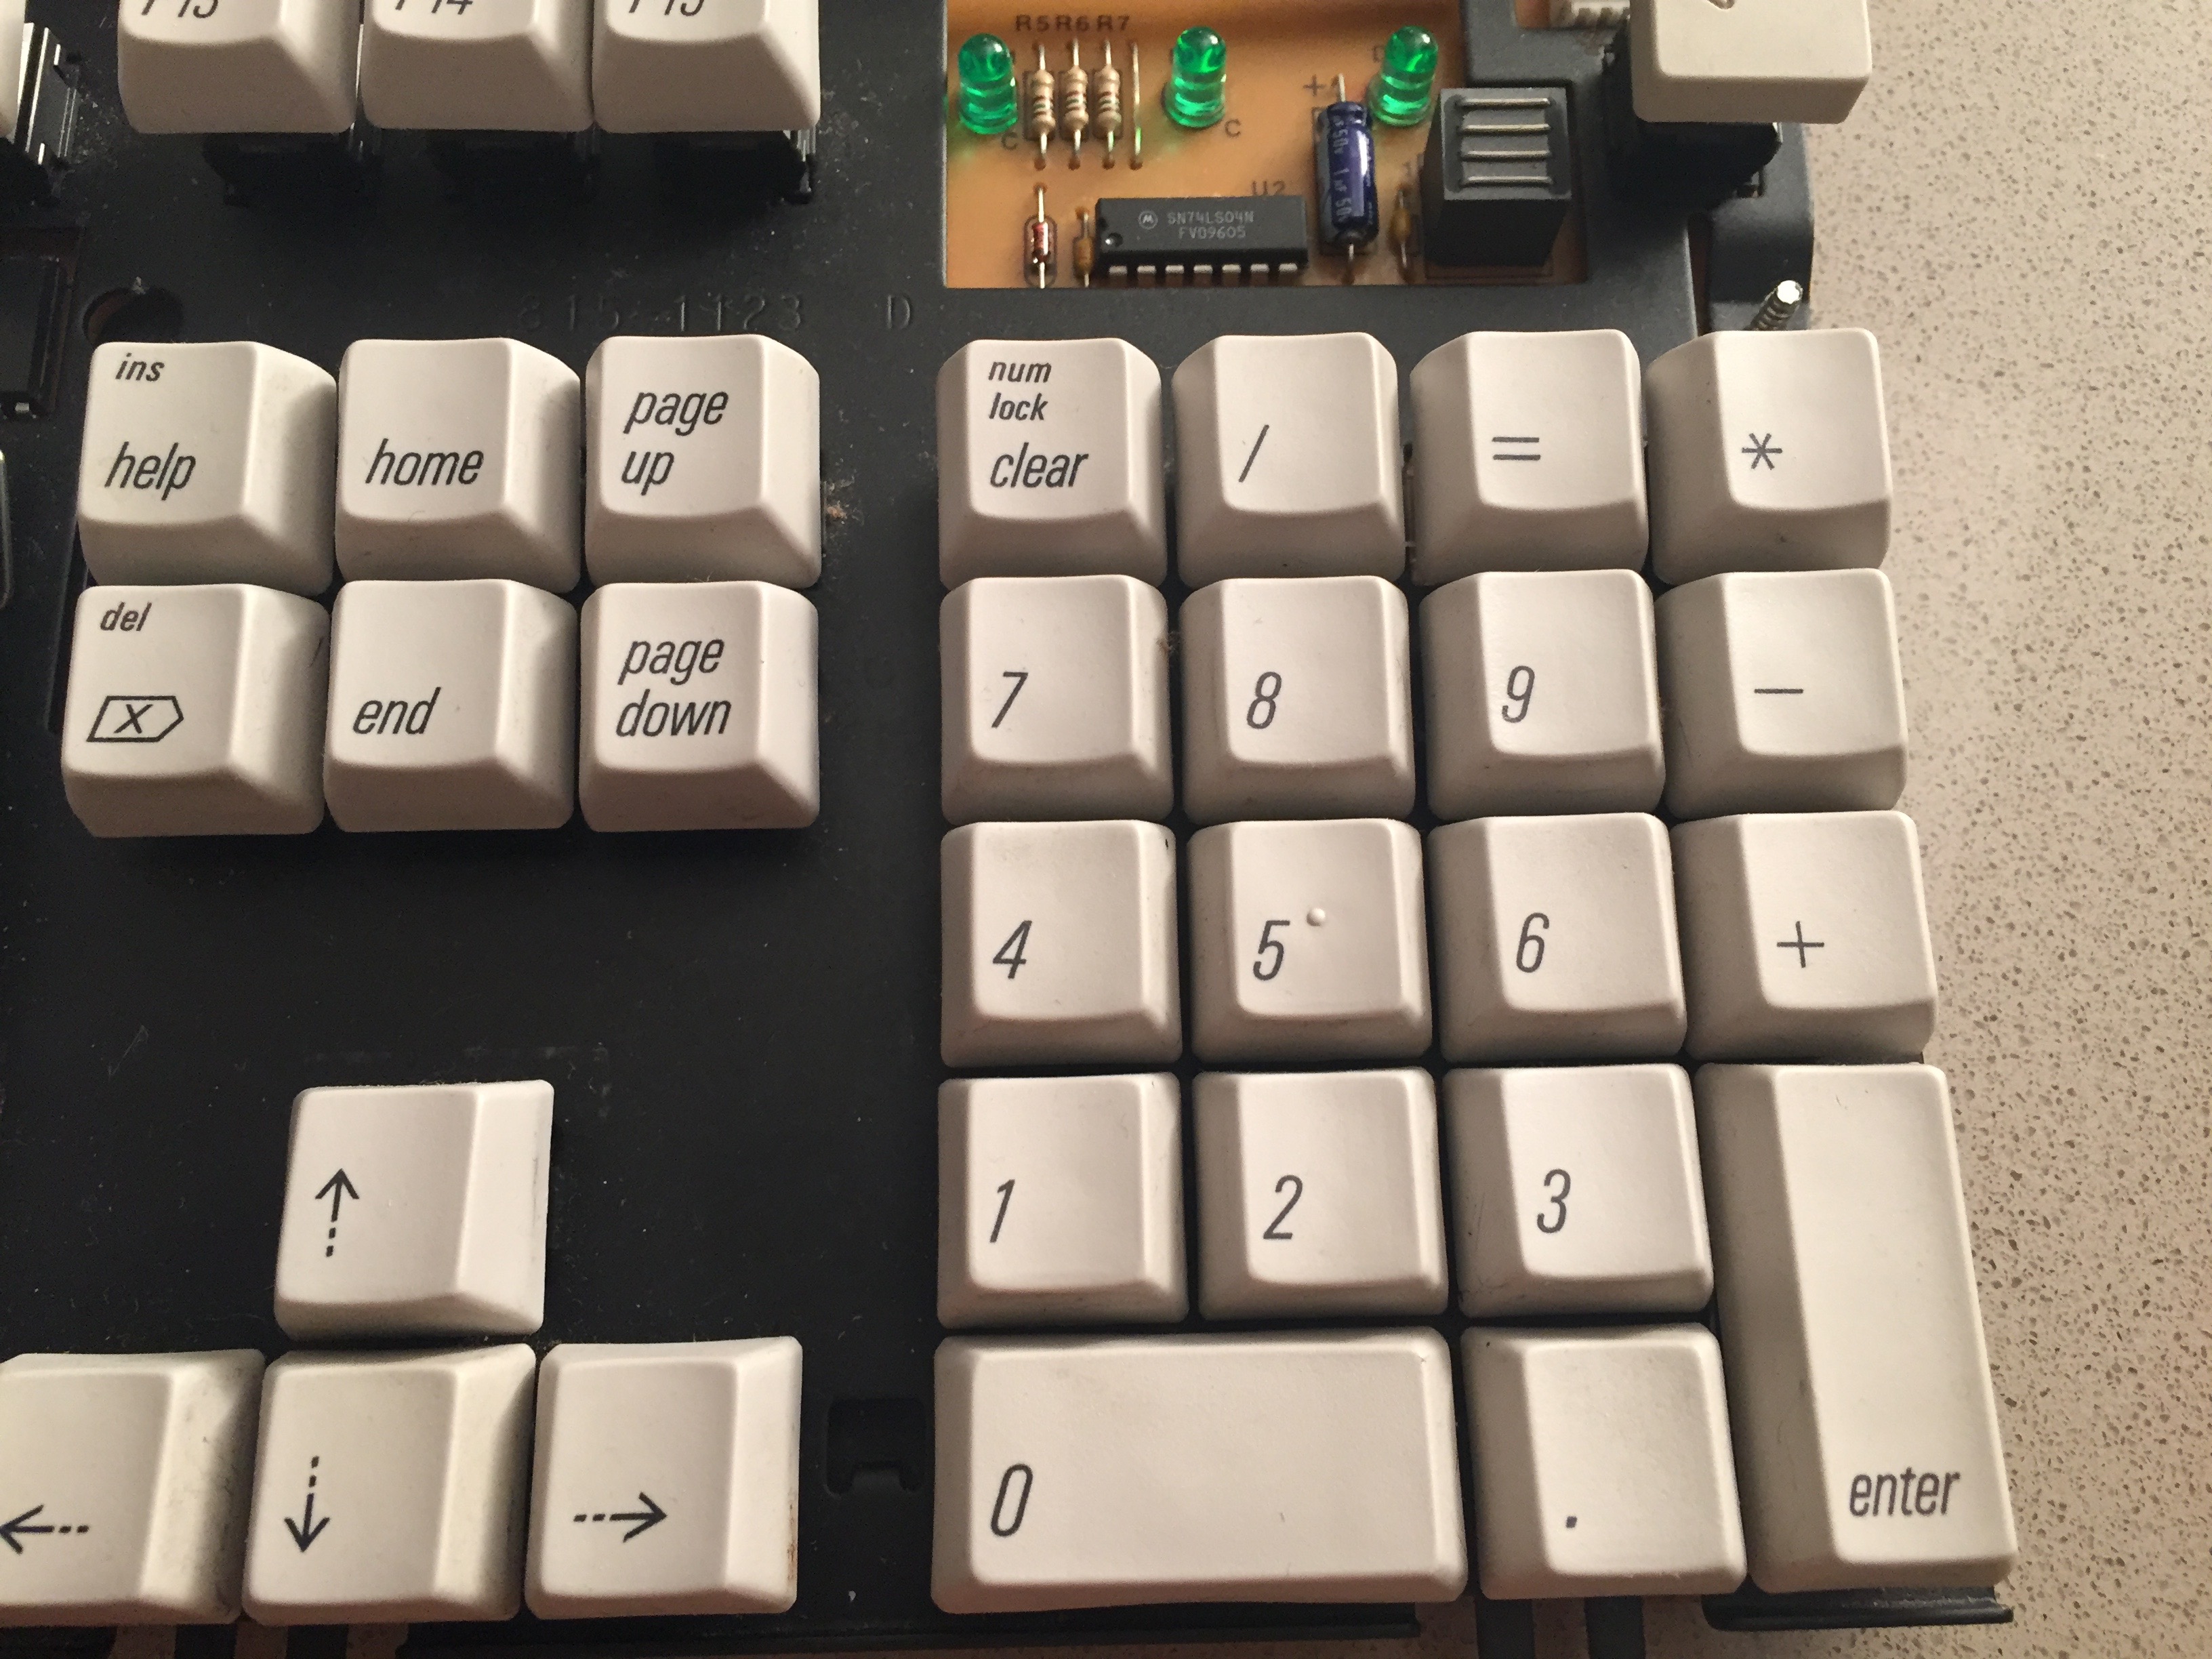
Figure 13: Putting the key-caps back (can you notice what's wrong in this picture?)
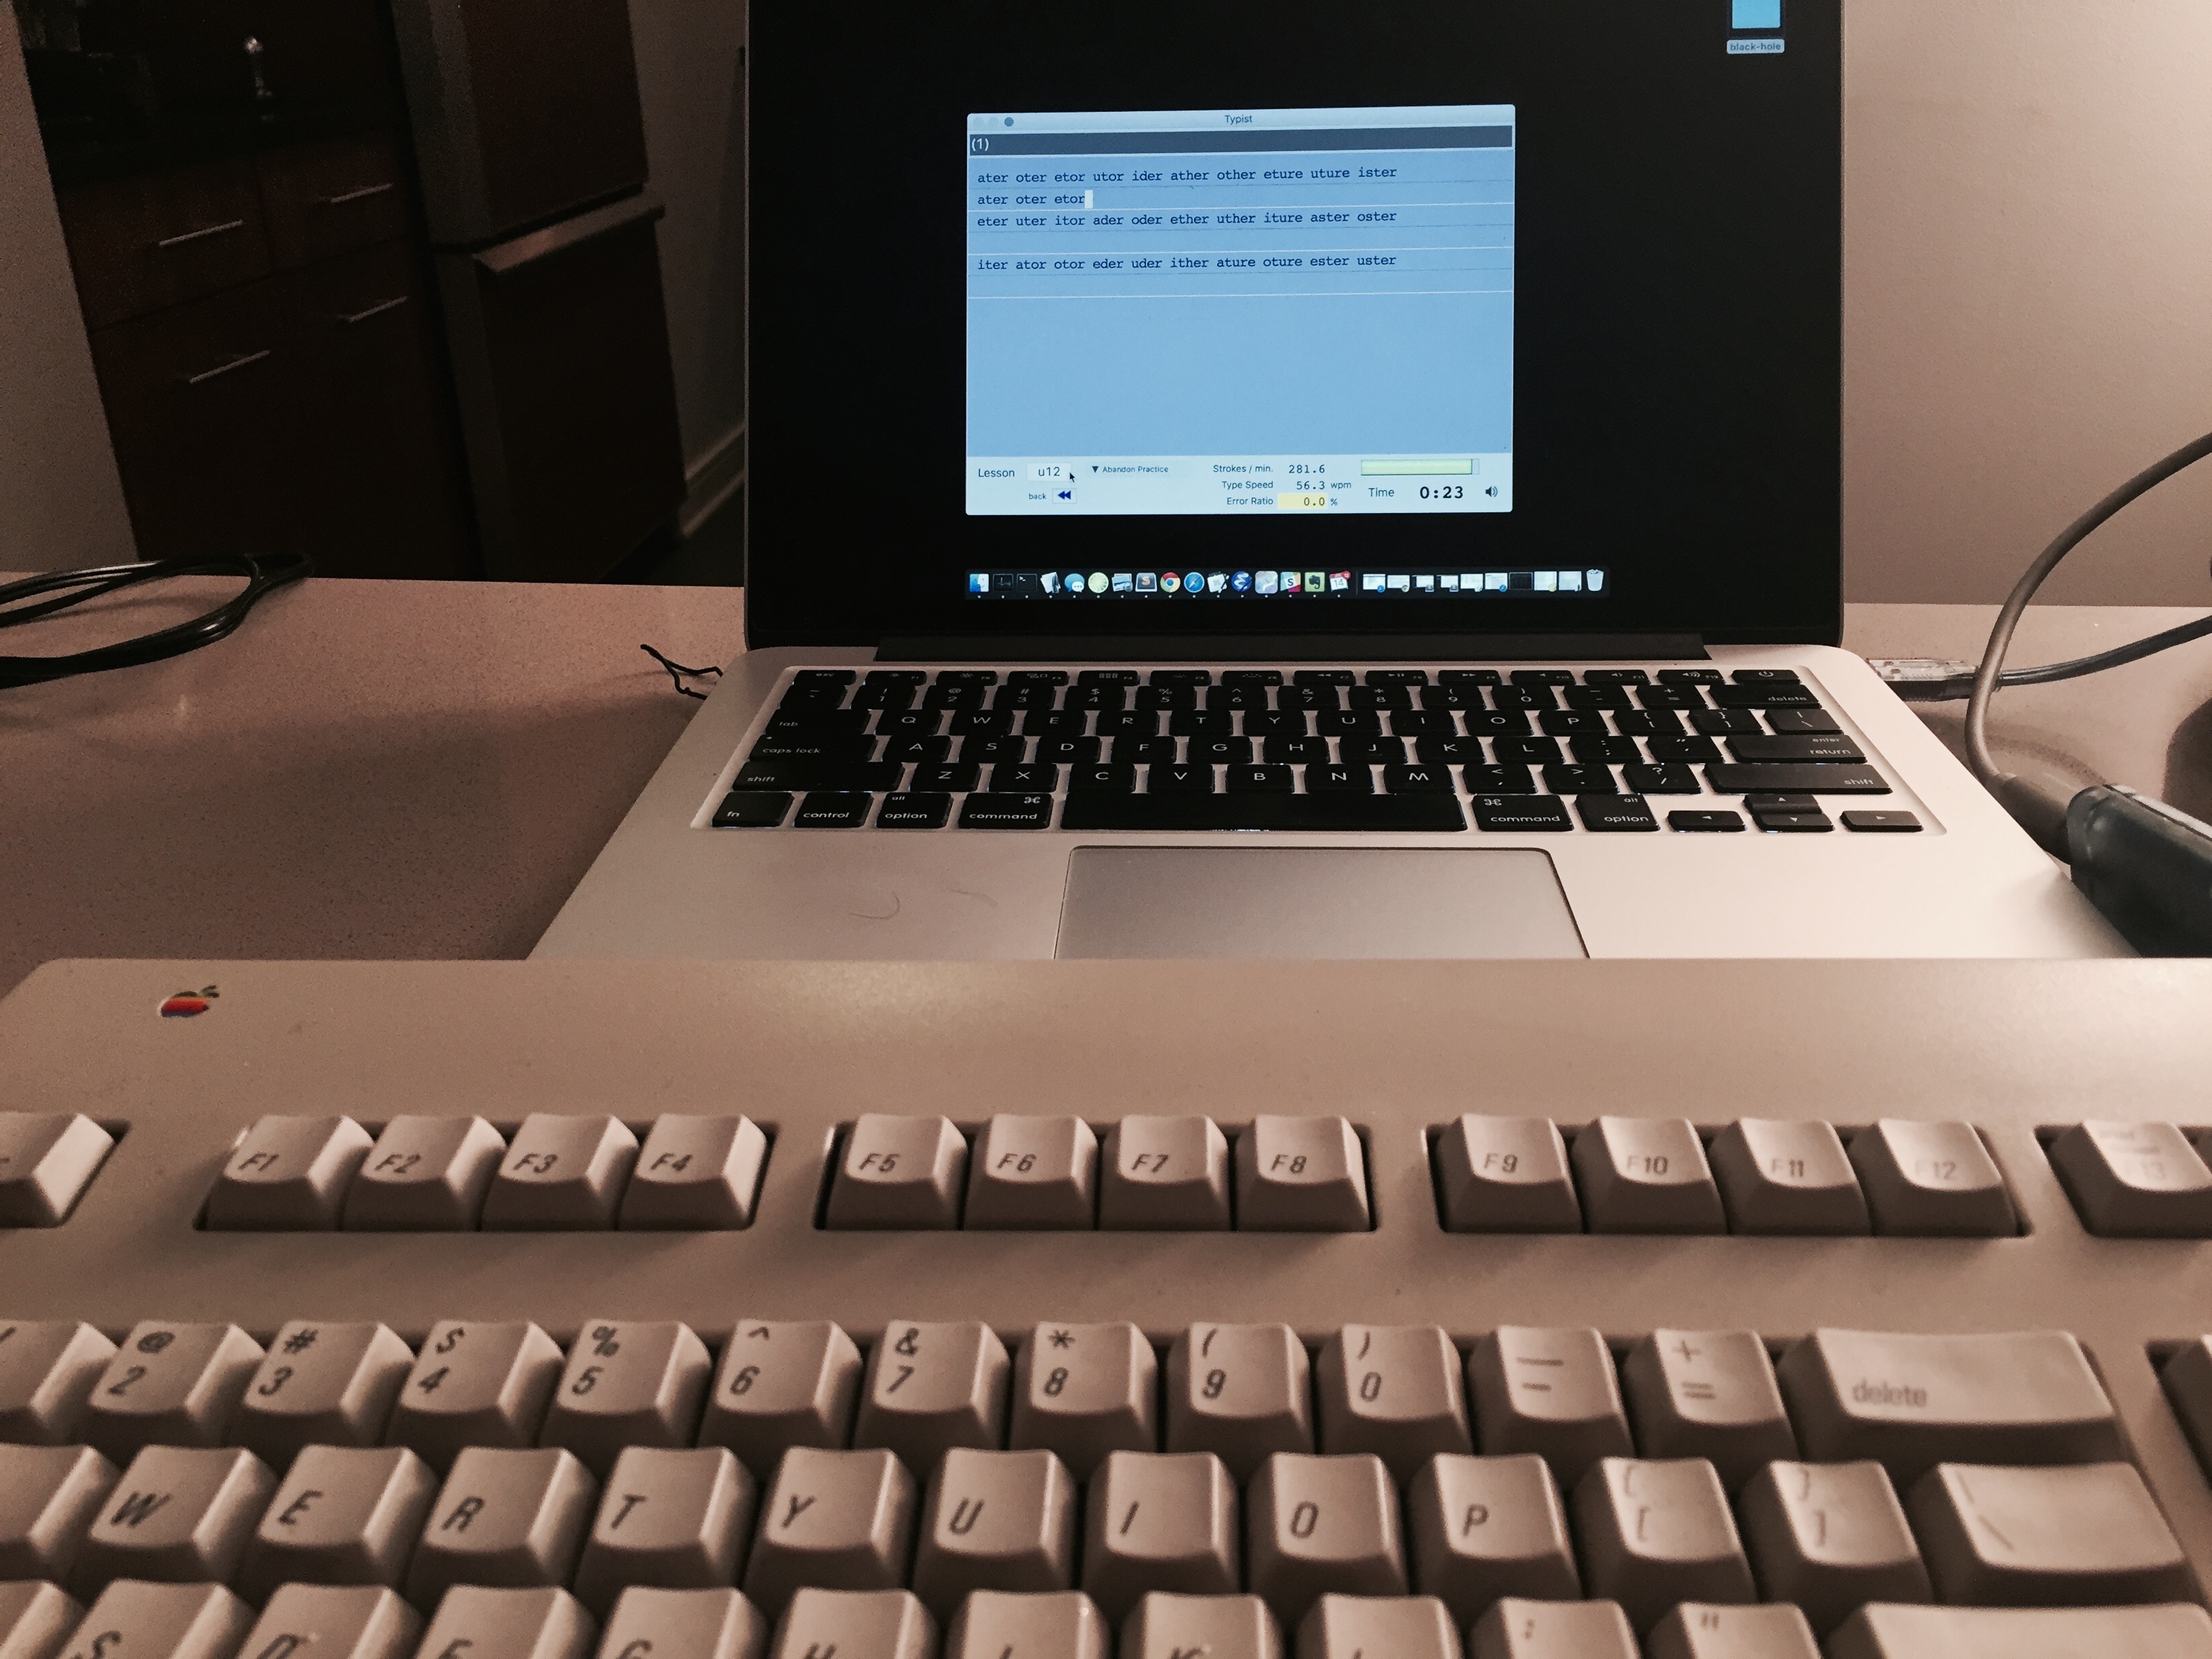
Figure 14: Putting the board back into the case, and testing the keyboard with Typist
Updates:
- Few things that I learned from readers, after posting this:
- I can find genuine AEK II alps at the /r/mechmarket subreddit. I looked it out and found someone who have them.
- The Matias Quiet Tactiles are the closest match to my AEK II keys. Not the Matias Standard Clicky that I bought.
- It is possible to replace the clicky leaves in the Matias Standard Clicky with the ALPS ones. That will supposadly turn the typing experience on the Matias that I have closer to that on the alps.
Other Useful Links
- Hack It Better: Apple Extended Keyboard II
- Apple Extended Keyboard II Teardown
- Apple’s Extended Keyboard II: Sequel to a Legend
- Tuning an Apple Extended Keyboard II
- Apple Extended Keyboard II (Deskthority)
- Keyboard Repair
-
That might change, though. I have high hopes from the Granite Key-caps Set I've just committed to on Massdrop. ↩
-
Can't be more satisfied with that kit. ↩
-
Basic Soldering Lesson 1 - "Solder & Flux" - but I recommend that you'll also watch lessons 2 and 3. ↩